The Art of Stamping Nail Designs- A Beginner’s Guide
The Art of Stamping Nail Designs- A Beginner’s Guide
Getting started with nail stamping is easier than you think! You’ll need a stamping plate with fun designs, a stamper and scraper, and some special stamping polish. First, prepare your nails by cleaning them and applying a base coat. Then, try techniques like the direct stamp, where you apply polish, scrape off the excess, and roll the stamper onto your nail. Don’t worry if your first attempts aren’t perfect; practice makes progress! You can explore creative ideas, like mixing patterns or creating gradients. Keep learning, and you’ll discover even more tips for fabulous nail art in no time!
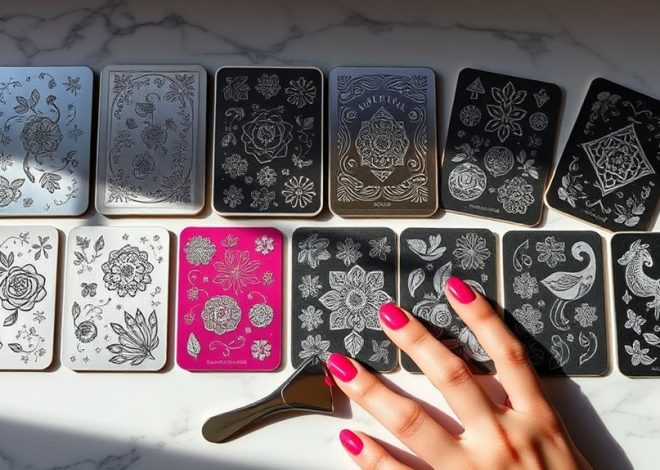
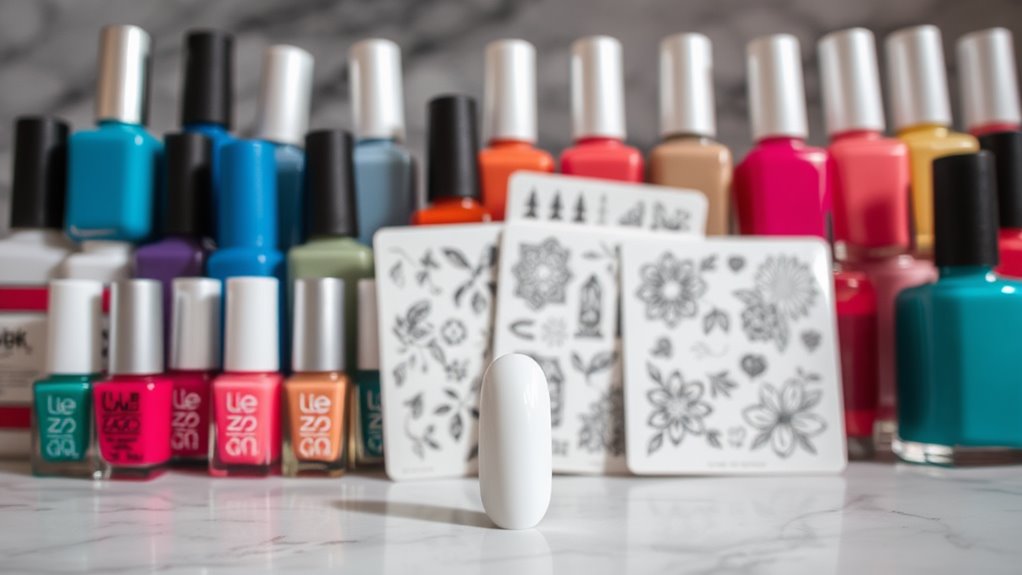
Essential Tools for Nail Stamping
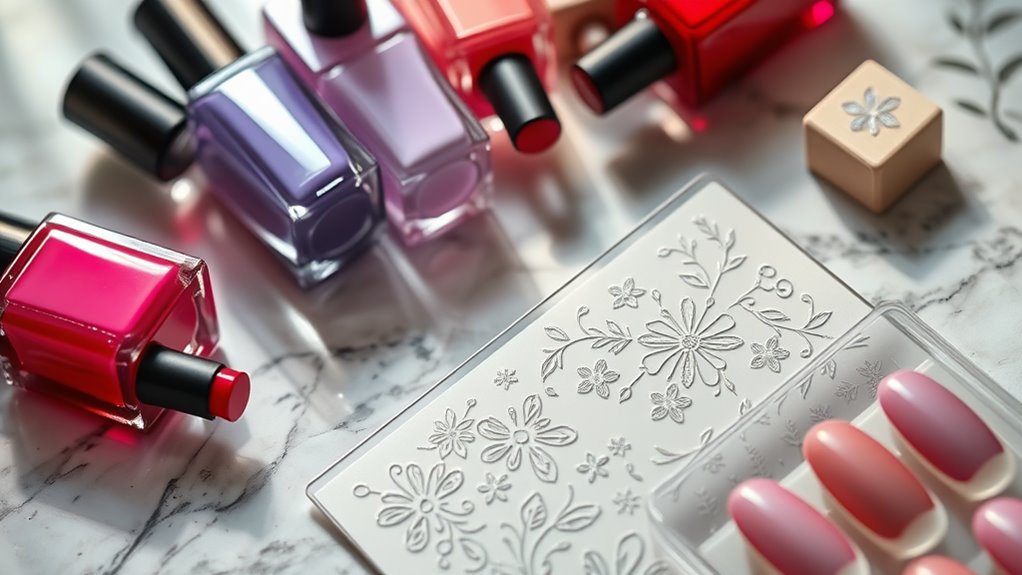
To achieve stunning nail art, you’ll need a few essential tools for nail stamping that make the process smooth and enjoyable.
First up, you’ll need a quality stamping plate. These plates come with various designs etched into them, allowing you to pick your favorite patterns.
Next, grab a good stamper and scraper. The stamper picks up the polish from the plate, while the scraper helps you remove excess polish, so you get a clean design every time.
You can’t forget about the nail polish! Choose a special stamping polish, which is thicker than regular polish and guarantees better transfer of designs. A base coat is also vital for protecting your nails and making sure the nail art lasts longer.
Lastly, having some cleanup tools, like cotton pads and nail polish remover, will help you tidy up any mistakes and keep your nails looking perfect.
With these essential tools in hand, you’re on your way to creating beautiful nail art that’ll impress your friends.
Understanding Stamping Techniques
Mastering stamping techniques can take your nail art to the next level. To start, you’ll want to familiarize yourself with the basic methods. The most common technique is the direct stamp, where you apply polish to the design plate, scrape off the excess, and then roll the stamp onto your nail.
Make sure you roll, not press, as this helps transfer the design better.
Another technique is the reverse stamp, which allows for more creativity. In this method, you first stamp the design onto the plate and then fill it in with polish before transferring it to your nail. This gives you a chance to add colors and create unique patterns.
Experimenting with pressure is also key. Too little pressure may leave gaps, while too much can smudge your design. Practice makes perfect, so don’t be discouraged if your first few attempts aren’t flawless.
Preparing Your Nails for Stamping
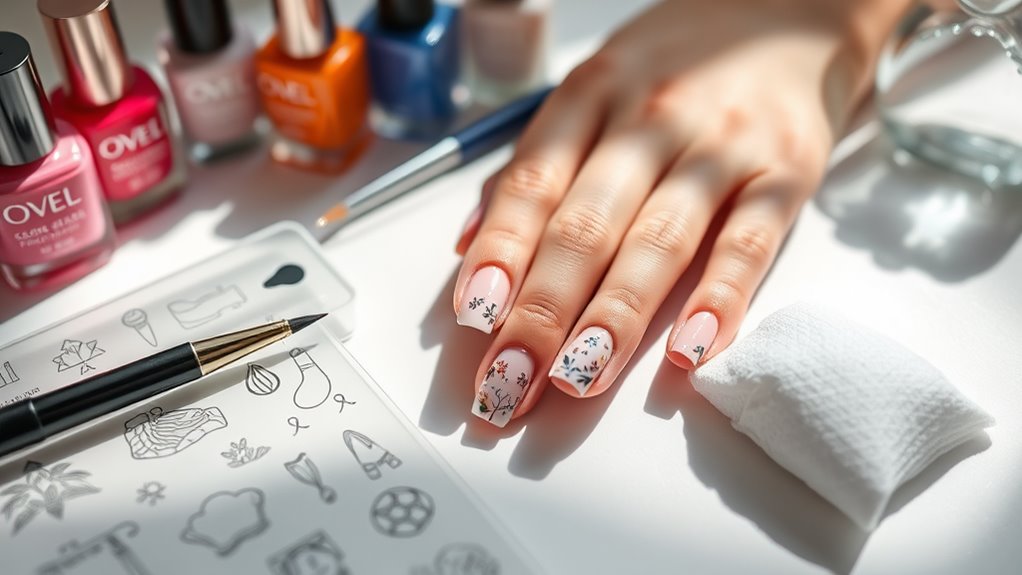
Before you start stamping, it’s important to prepare your nails properly. First, make sure your nails are clean and dry. Remove any old polish using a non-oily remover, as oils can interfere with the stamping process.
After cleaning, gently buff the surface of your nails to create a smooth canvas. This step helps the stamping polish adhere better.
Next, trim and shape your nails to your desired length and style. Consistency in length makes your design look more polished and professional.
Once your nails are shaped, apply a base coat. This not only protects your nails but also provides a better surface for the stamping polish to stick.
After the base coat dries, you can choose a light or nude color for your base polish. This will make your stamped design pop!
Remember to let each layer dry completely before moving on. If you rush, you might smudge your design.
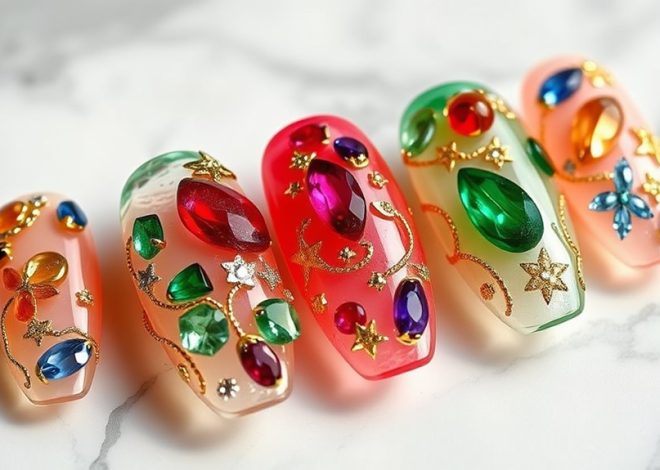
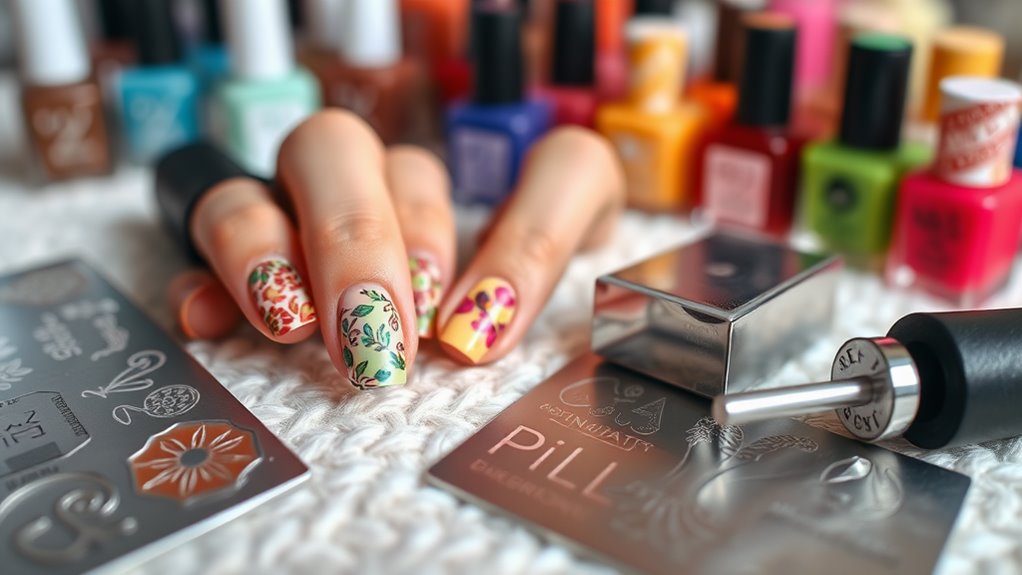
Creative Design Ideas to Try

Creativity flourishes when it comes to nail stamping, offering endless possibilities for unique designs that express your personal style. One fun idea is to mix patterns; try combining floral designs with geometric shapes for an eye-catching look.
You can also play with color gradients by stamping a design in one color and layering it with a contrasting shade for depth.
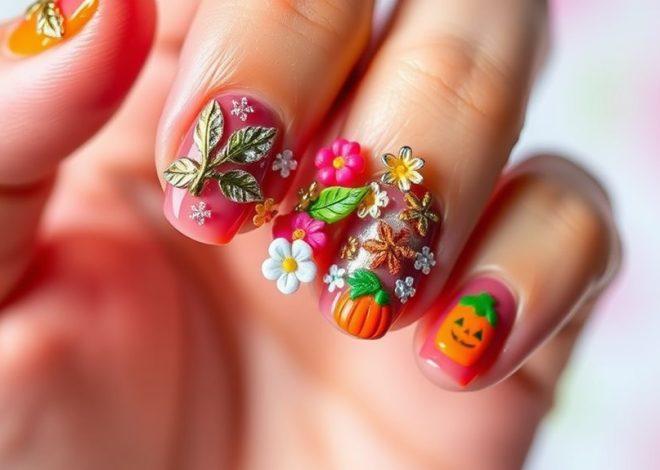
Another exciting option is to create themed nails. For instance, if you love the ocean, consider using seashell and wave stamps. You could even celebrate the seasons; think autumn leaves or winter snowflakes.
Don’t forget about negative space! Leaving parts of your nail unpainted can create a chic, modern effect. It’s all about finding what speaks to you!
Using nail foils or glitter over your stamped design can add extra flair and sparkle. Try experimenting with textures, too; matte finishes can give a sophisticated touch to your stamped designs.
Lastly, don’t shy away from trying out different stamping plates. Each plate offers its own unique designs, so explore various themes and styles until you find your favorites.
Happy stamping, and let your nails tell your story!
Tips for Perfecting Your Stamps
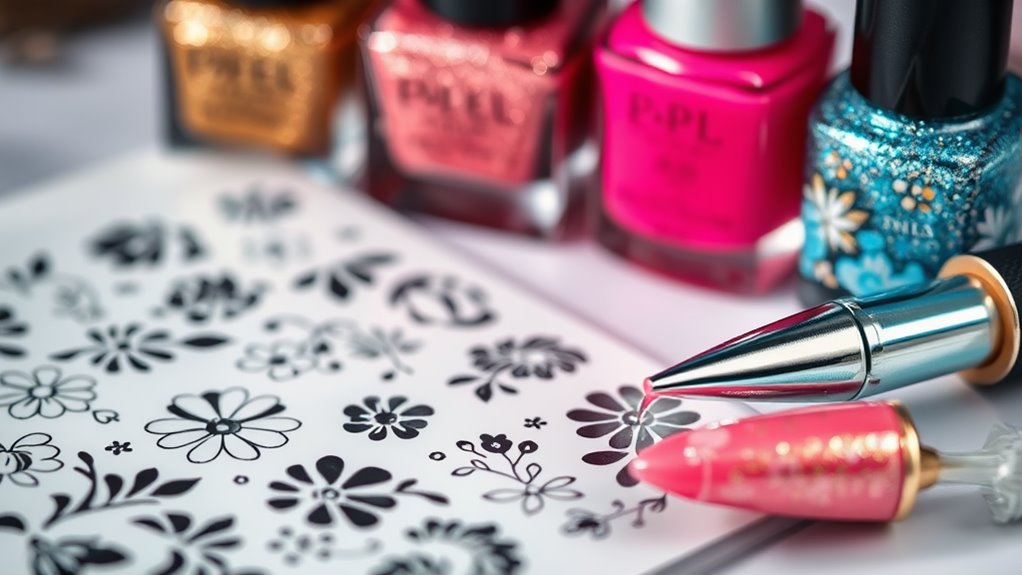
Achieving flawless nail stamps requires attention to detail and a bit of practice.
To start, make sure you’ve got the right tools. A quality stamping plate, a good stamper, and nail polish specifically designed for stamping are essential. Regular nail polish can be too thin and won’t transfer well.
Next, prepare your nails properly. Clean your nails to remove any oils or residues, then apply a base coat. This helps the stamped design adhere better.
When you’re ready to stamp, apply polish to the design on the plate, quickly scrape off the excess, and then roll the stamper over the design.
It’s vital to work quickly, as the polish can dry fast. Aim to apply the stamp to your nail in one smooth motion.
If you mess up, don’t worry! Just clean off the area with a cotton swab and start again.