
Hello Kitty Christmas Nails- Adorable Holiday Inspiration
Hello Kitty Christmas Nails- Adorable Holiday Inspiration
Get ready to deck your nails with adorable Hello Kitty Christmas designs! Start with a quality polish in festive colors like red, white, and green. Use fine brushes to create Hello Kitty’s face and add fun seasonal elements like snowflakes and Santa hats. Don’t forget a top coat for shine and protection! You can mix patterns too, like stripes or polka dots, for extra flair. Remember to take care of your nails afterwards by applying a top coat every few days and moisturizing cuticles. Curious about more creative ideas and tips? You’re in for a treat!
Must-Have Nail Supplies
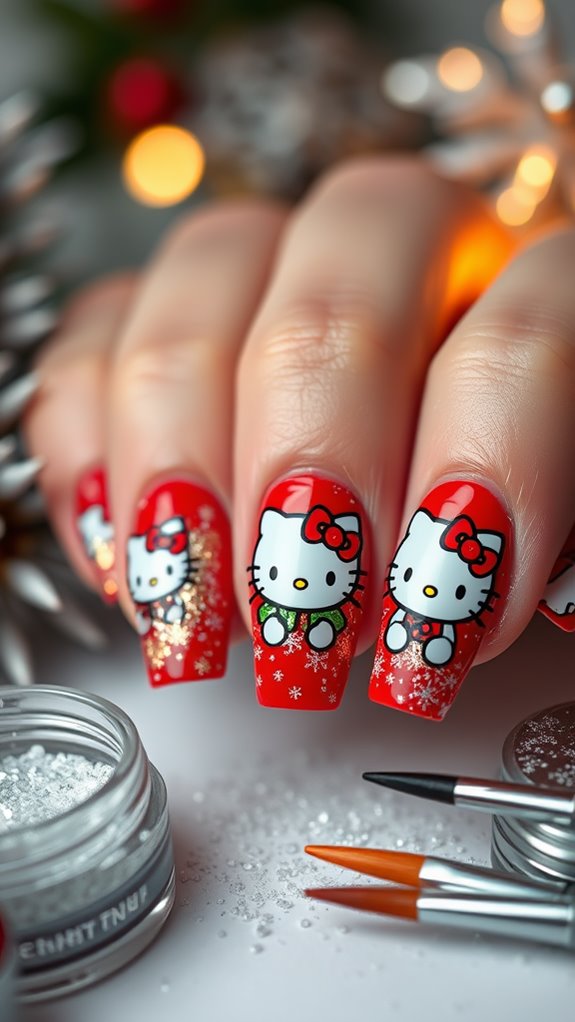
When you’re getting ready to create those adorable Hello Kitty Christmas nails, having the right nail supplies is essential. You’ll need quality polish in festive colors like red, white, and green, along with a top coat for that perfect shine. Don’t forget nail art brushes, dotting tools, and Hello Kitty stickers or decals to bring your design to life!
Step-by-Step Nail Tutorials

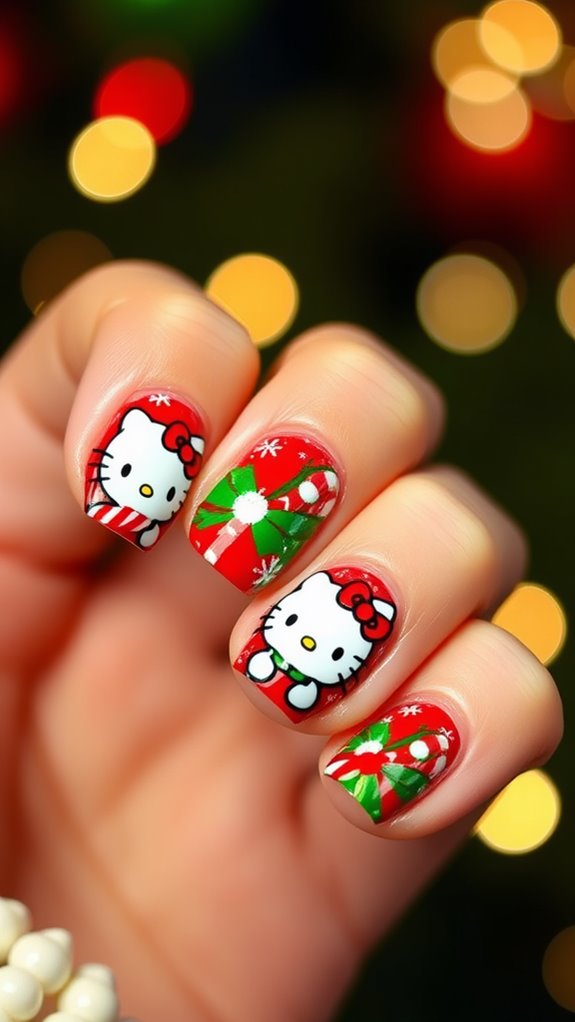
With your nail supplies ready, it’s time to bring your Hello Kitty Christmas nails to life. Start by applying a base coat. Once dry, paint your nails in festive colors like red and green. Use a fine brush to create Hello Kitty’s face on one nail. Add snowflakes or Christmas trees on others. Finish with a top coat for shine and protection. Enjoy your adorable nails!
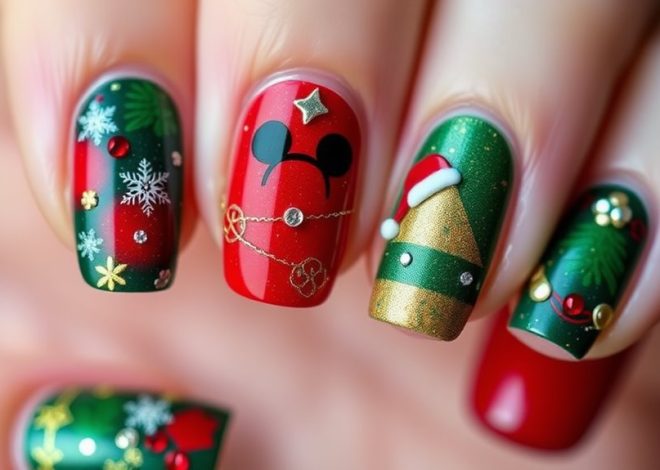
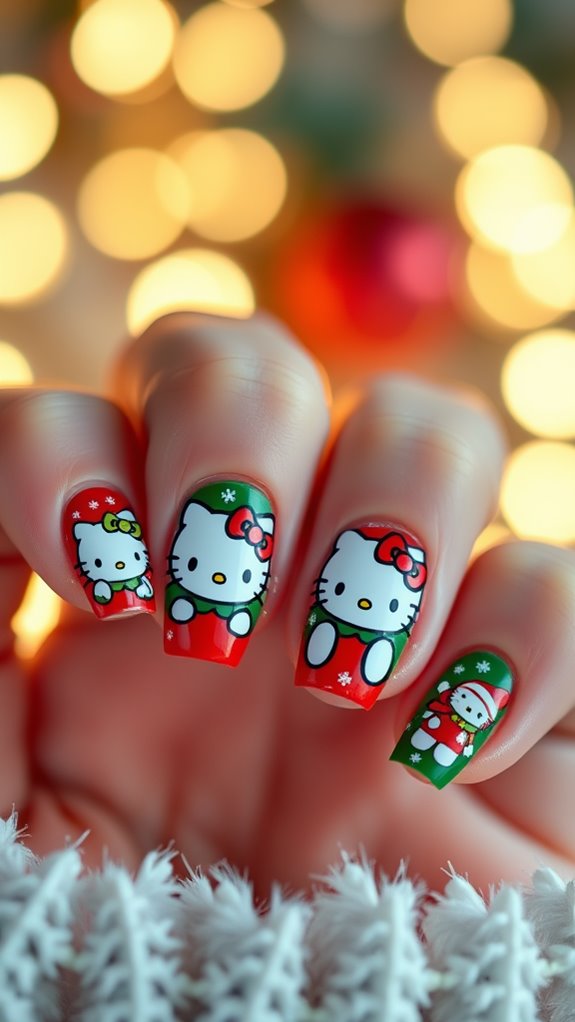
Creative Design Ideas
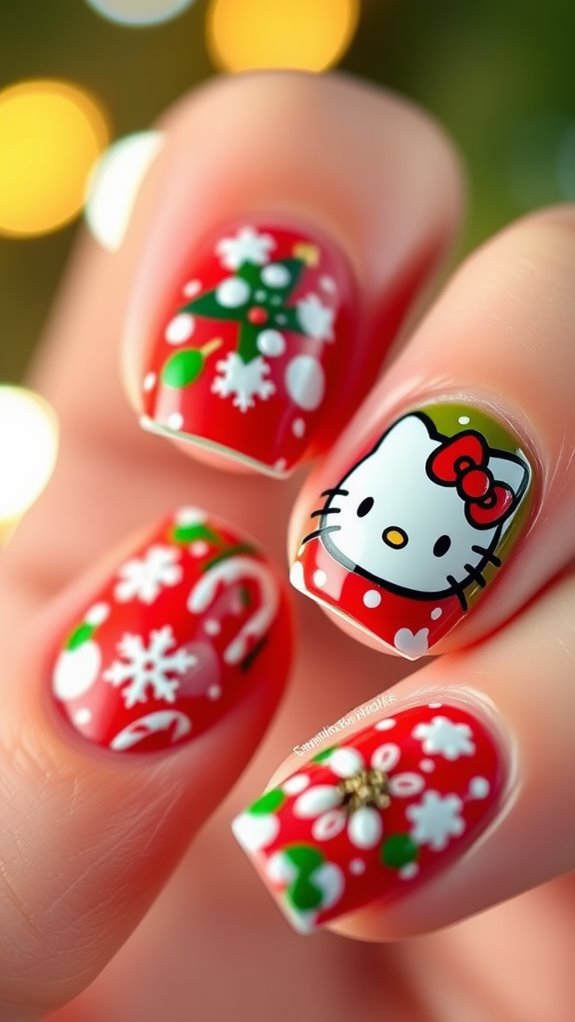
As the holiday season approaches, you can get creative with your Hello Kitty Christmas nail designs. Consider combining classic red and green colors with playful snowflakes and candy canes. You might even add tiny Santa hats to Hello Kitty’s head or incorporate glitter for a festive sparkle. Mixing different patterns like stripes and polka dots can also enhance the holiday cheer on your nails!
Tips for Perfect Application
Achieving those adorable Hello Kitty Christmas nail designs requires more than just creativity; the application process is key to a polished finish. Start with clean, dry nails and apply a base coat to prevent chipping. Use thin layers of polish, allowing each to dry completely before adding more. For intricate designs, consider using a fine brush or nail art tools for precision.
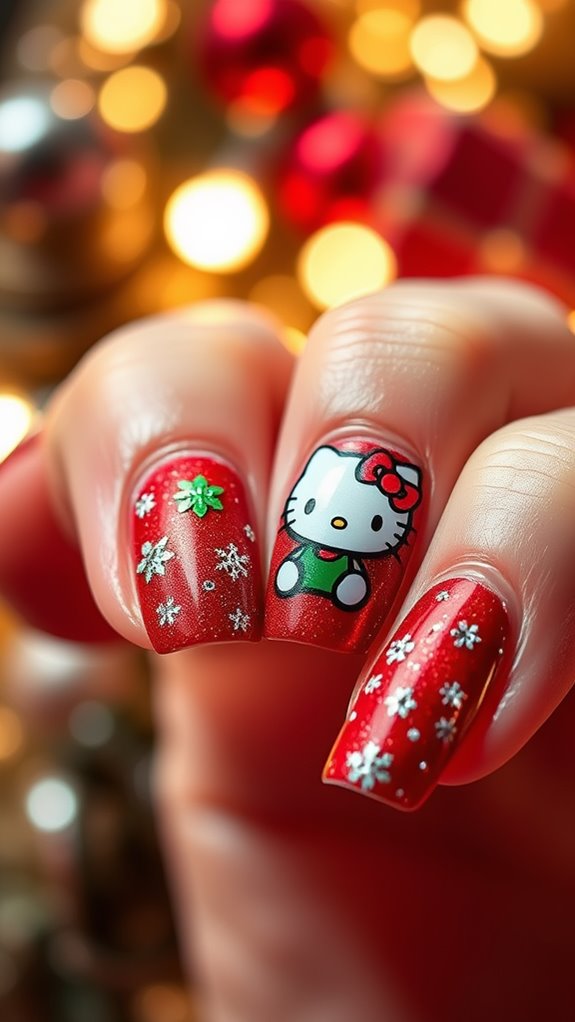
Seasonal Color Palettes
When it comes to Hello Kitty Christmas nails, choosing the right color palette can make all the difference in achieving that festive look. Opt for classic reds and greens for a traditional vibe, or go for icy blues and whites for a winter wonderland theme. Adding metallics like gold or silver can elevate your design, creating a fun and playful holiday spirit that’s unmistakably Hello Kitty!
Maintaining Your Holiday Nails
Maintaining your holiday nails is essential for keeping them looking festive throughout the season. To do this, apply a top coat every few days to protect your designs and add shine. Avoid harsh chemicals when cleaning, and wear gloves when washing dishes. If you notice chips or wear, touch up your nails promptly. Regular moisturizing will also help keep your cuticles healthy and your nails looking fabulous.