Hello Kitty Christmas Nails- Cute Holiday Art
Hello Kitty Christmas Nails- Cute Holiday Art
If you’re looking to create Hello Kitty Christmas nails, you’re in for a treat! Start with a clean white base coat, then outline Hello Kitty’s cute face using a fine brush. Don’t forget to add her signature whiskers, eyes, and a pink bow for that extra charm. You can play around with festive colors like red, green, or even icy blue and silver. Adding glitter can enhance the holiday spirit too. Finish with a top coat for shine and longevity. Keep going to uncover more tips and tricks for perfecting your holiday nail art!
Essential Tools and Supplies

To create the perfect Hello Kitty Christmas nails, you’ll need a few essential tools and supplies to get started. Gather a base coat, top coat, and your favorite nail polish colors—think festive shades like red, green, and white. You’ll also want nail art brushes, dotting tools, and Hello Kitty decals or stickers for that adorable touch. Don’t forget a nail file for shaping!
Classic Hello Kitty Design

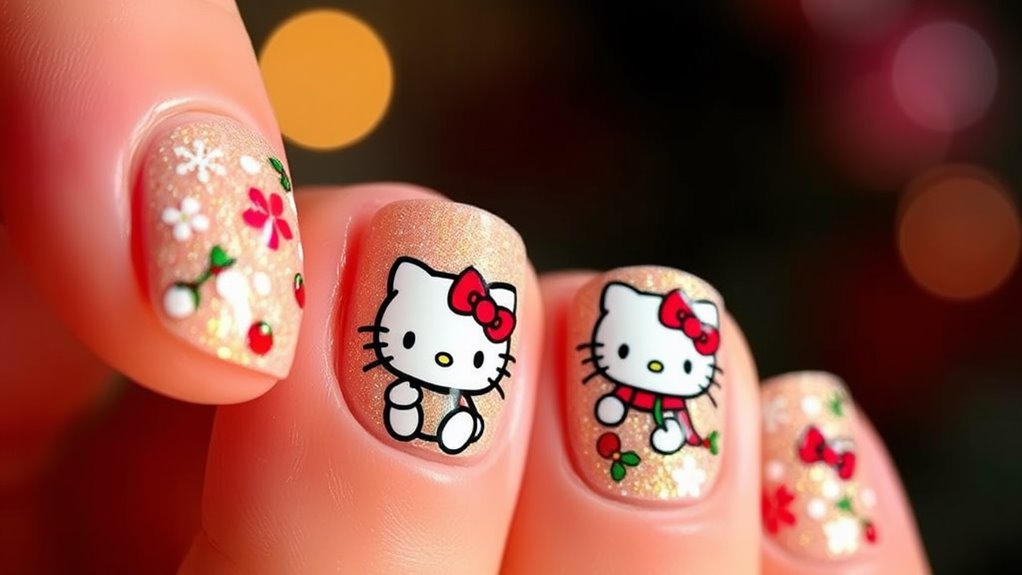
Creating a classic Hello Kitty design on your nails is a delightful way to embrace the festive spirit. Start by painting your nails with a clean white base. Then, use a fine brush to outline Hello Kitty’s face, complete with her signature bow. Add her whiskers and eyes for character. This timeless design is sure to bring joy and cuteness to your holiday celebrations!
Festive Color Combinations
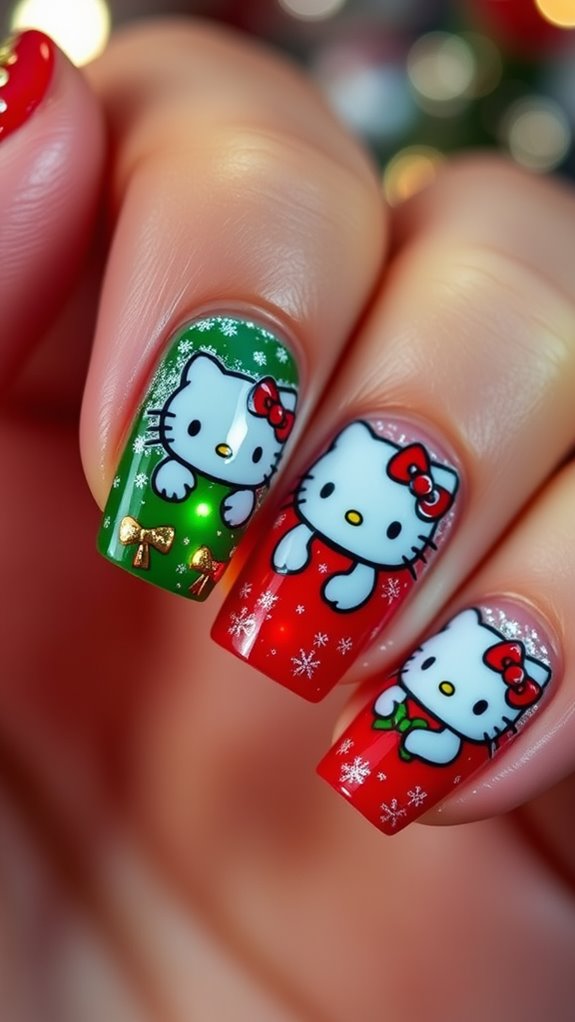
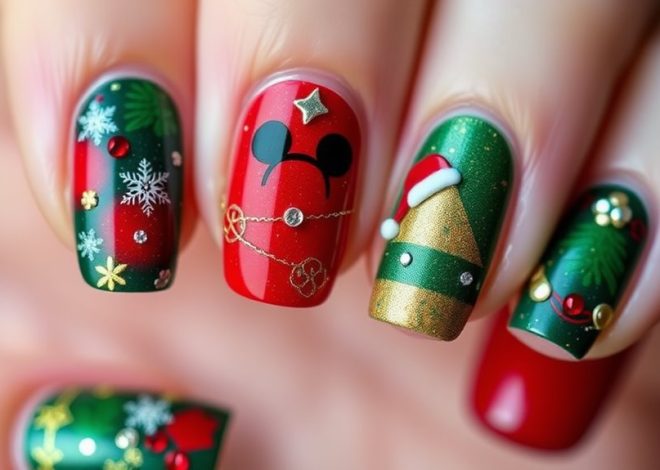
When it comes to festive color combinations for your Hello Kitty Christmas nails, there are countless options to consider. Think cheerful red and white for a classic holiday look, or try a playful mix of green and pink for something unique. Gold accents can add a touch of sparkle, while icy blue and silver create a winter wonderland vibe. Get creative and have fun!
Step-by-Step Nail Art Tutorials

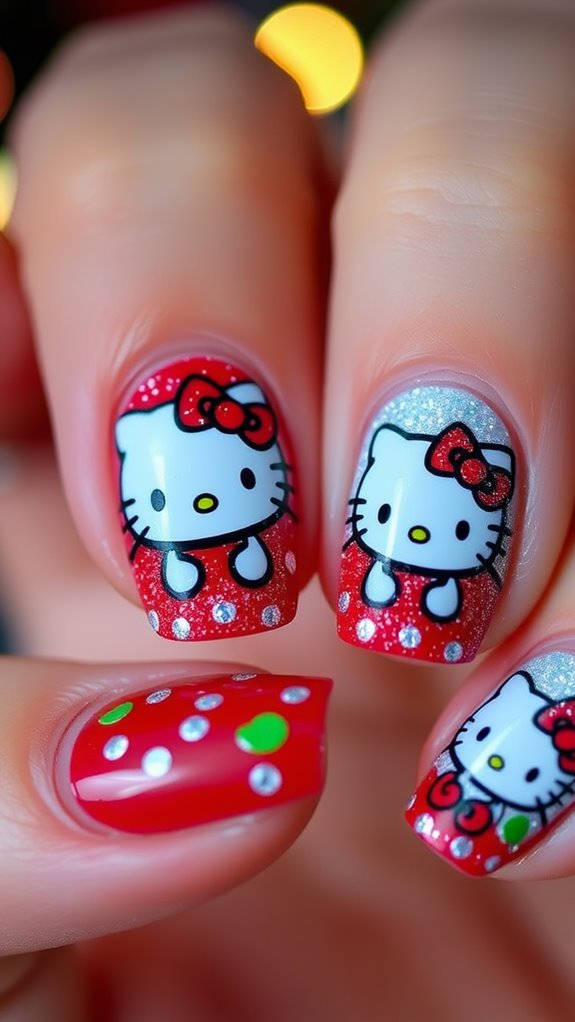
Nail art can be a fun way to express your holiday spirit, and Hello Kitty designs are perfect for the season. To create your Hello Kitty Christmas nails, start with a base coat. Paint your nails white, then use black polish for Hello Kitty’s outline. Add a pink bow and finish with a top coat for shine. Enjoy your festive, adorable nail art!
Tips for Long-Lasting Results
To ensure your Hello Kitty Christmas nails last throughout the holiday season, start by applying a quality base coat. After your designs are complete, seal them with a top coat for extra protection. Avoid hot water and harsh chemicals for the first few days, and regularly moisturize your cuticles. Lastly, touch up any chips promptly to maintain that festive look!