
Gradient Ombré Nails- The Perfect Fade
Gradient Ombré Nails- The Perfect Fade
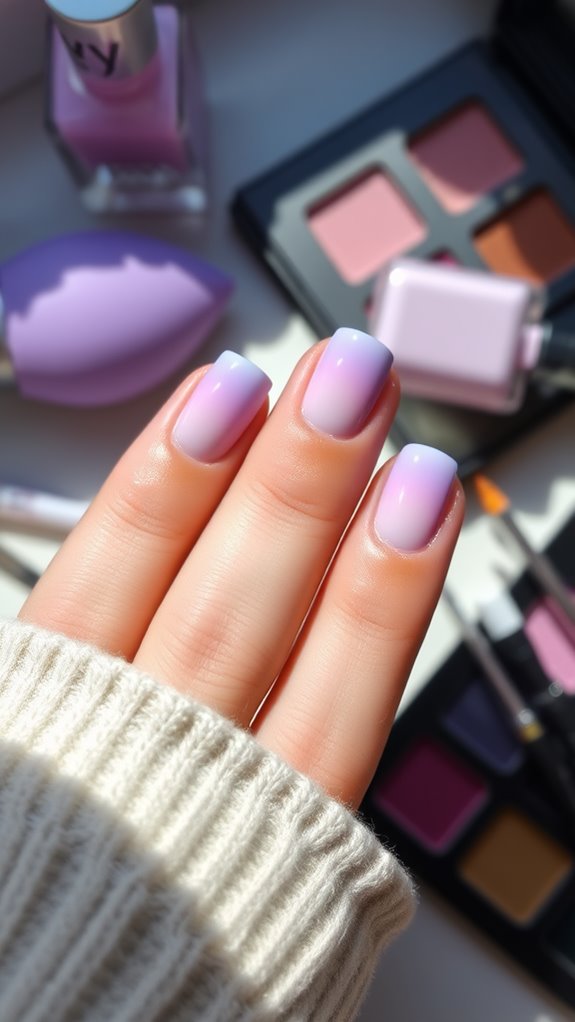
Gradient ombré nails are a fantastic way to express your style with a perfect fade. To achieve this look, start with a base coat and let it dry. Choose your favorite colors, and use a makeup sponge to blend them smoothly onto your nails. Dab the sponge for seamless transitions, repeating as needed until you love the gradient effect. Finish with a top coat for a glossy shine. You can mix pastels, bold hues, or neutrals for different vibes. Curious about more tips and inspiring designs to elevate your ombré game? There’s plenty more to explore!
Understanding Ombré Techniques
Mastering ombré techniques can elevate your nail art game significantly. By blending colors seamlessly, you create a stunning gradient effect that catches the eye. Start with a base color, then gradually introduce a second shade, using a sponge or brush for a smooth transition. Experiment with different color combinations to find what suits your style. Practice makes perfect, so don’t hesitate to try new techniques!
Essential Tools and Products
To achieve that flawless gradient ombré effect, having the right tools and products is crucial. You’ll need a makeup sponge for blending, high-quality nail polish in your chosen colors, and a clear top coat for a glossy finish. Don’t forget a base coat to protect your nails and a small brush or cleanup tool for any mess. Happy painting!
Step-by-Step Application Guide
Achieving the perfect gradient ombré nails involves just a few straightforward steps. First, apply a base coat and let it dry. Next, paint your desired colors onto a makeup sponge. Dab the sponge onto your nails, blending the colors. Repeat until you achieve the desired gradient. Finish with a top coat for shine, and let everything dry completely. Enjoy your stunning nails!
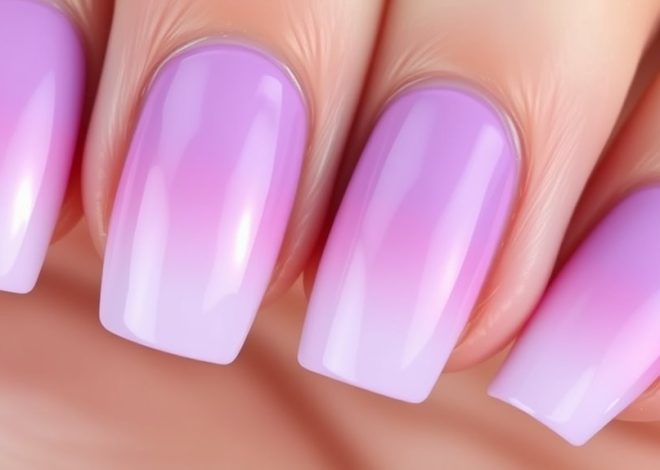
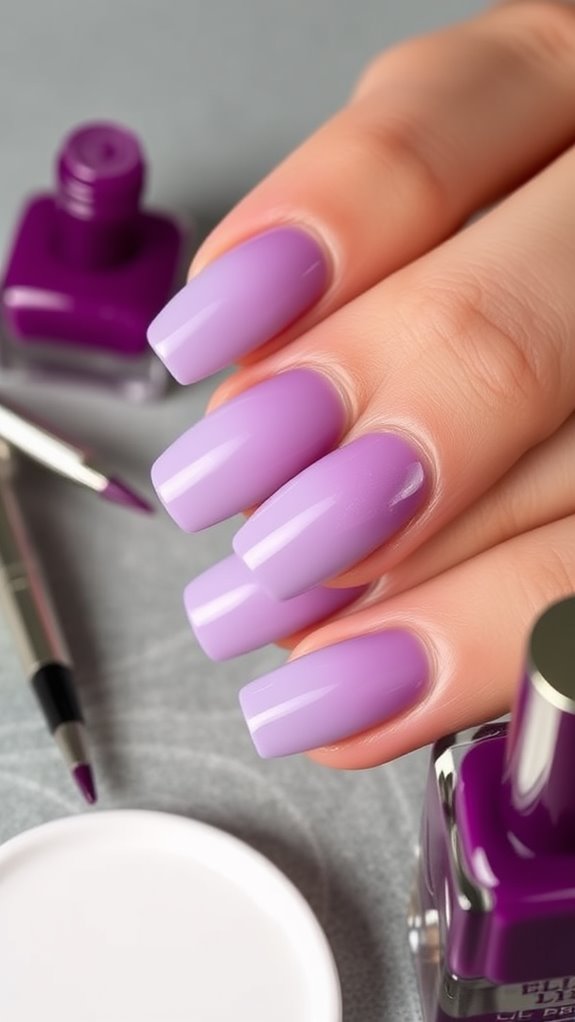
Color Combinations for Ombré
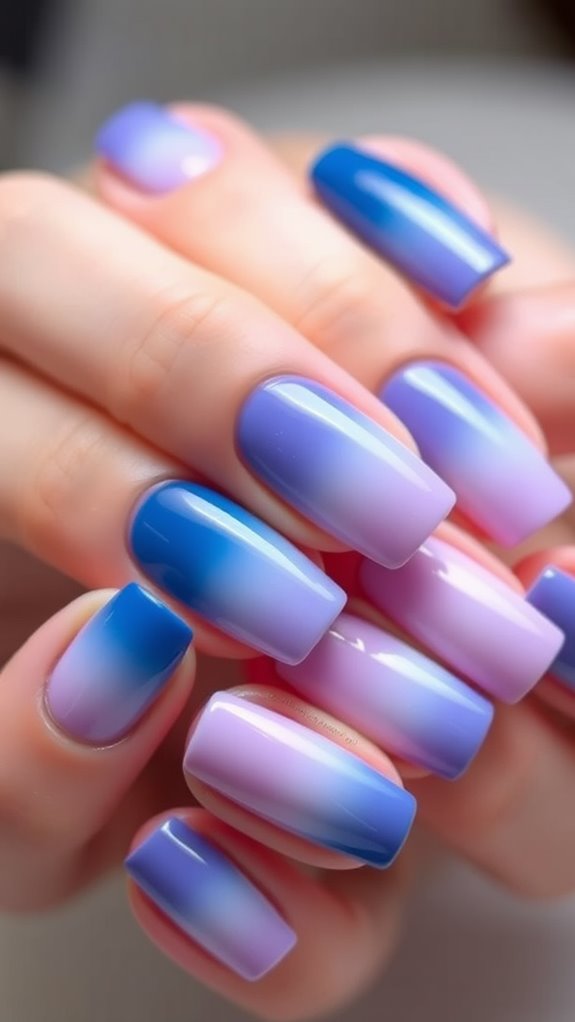
Once you’ve got the application technique down, choosing the right color combinations can take your ombré nails to the next level. Consider pairing soft pastels like pink and lavender for a dreamy effect, or bold hues like navy and teal for a striking contrast. Neutrals like beige fading into white create an elegant look, while sunset colors bring warmth and vibrancy to your design.
Tips for a Smooth Blend
A seamless blend is crucial for perfect ombré nails, and there are several techniques you can use to achieve that smooth transition. Start by applying a base coat for evenness. Use a makeup sponge to dab colors together, working quickly. Blend in a side-to-side motion, and don’t forget to layer gradually. Finish with a topcoat to seal your art and enhance the gradient effect.
Nail Shapes That Enhance Ombré
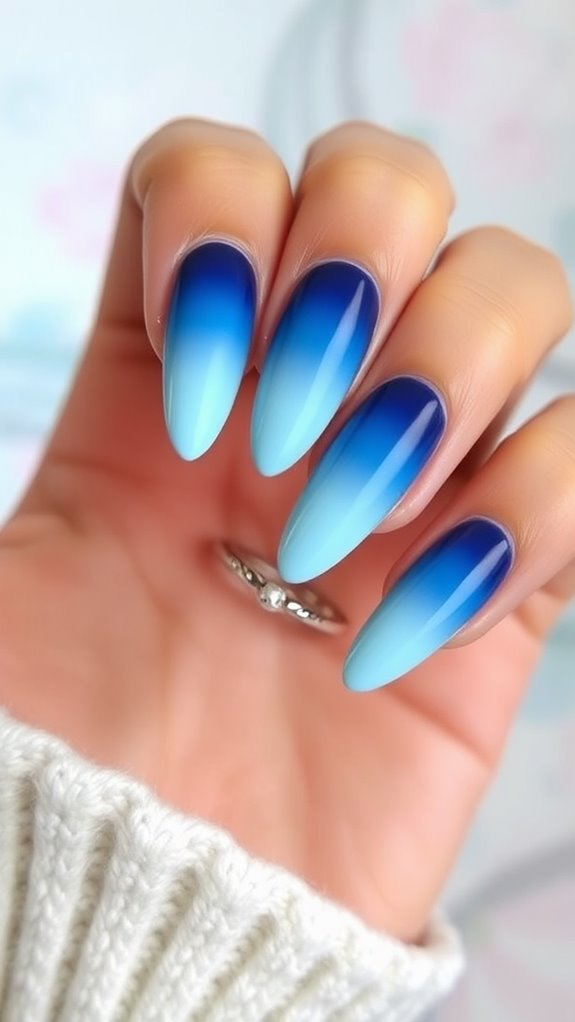
Certain nail shapes can truly elevate the beauty of ombré designs, making them stand out even more. For instance, almond and stiletto shapes create a pointed elegance that enhances the gradient effect. Square or coffin shapes provide a bold canvas, showcasing the color transition beautifully. Whichever shape you choose, make sure it complements the ombré style for maximum impact.
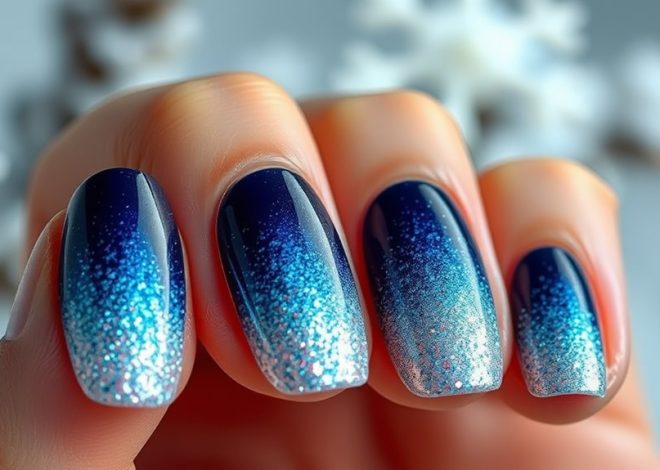
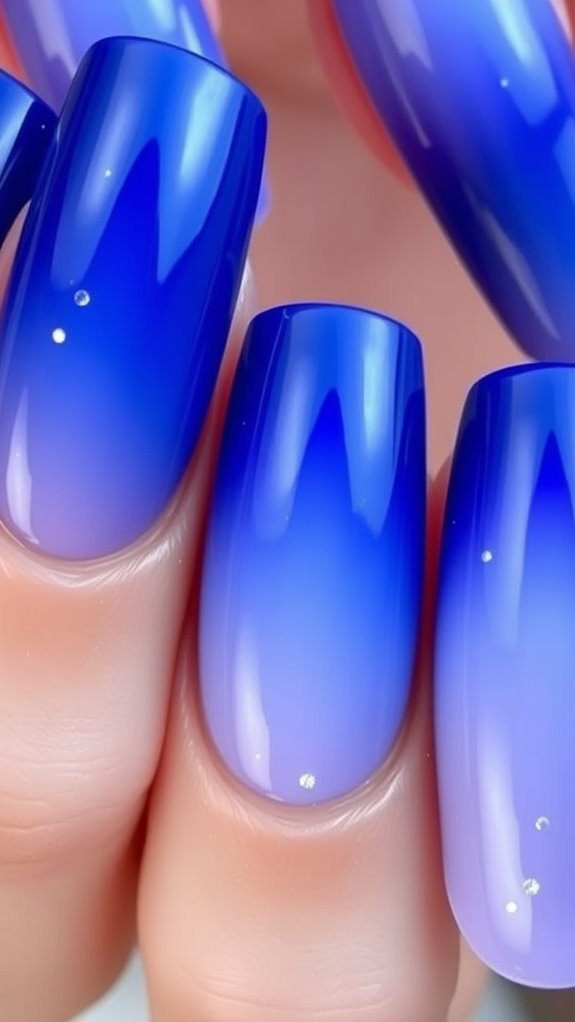
Inspiring Ombré Nail Designs

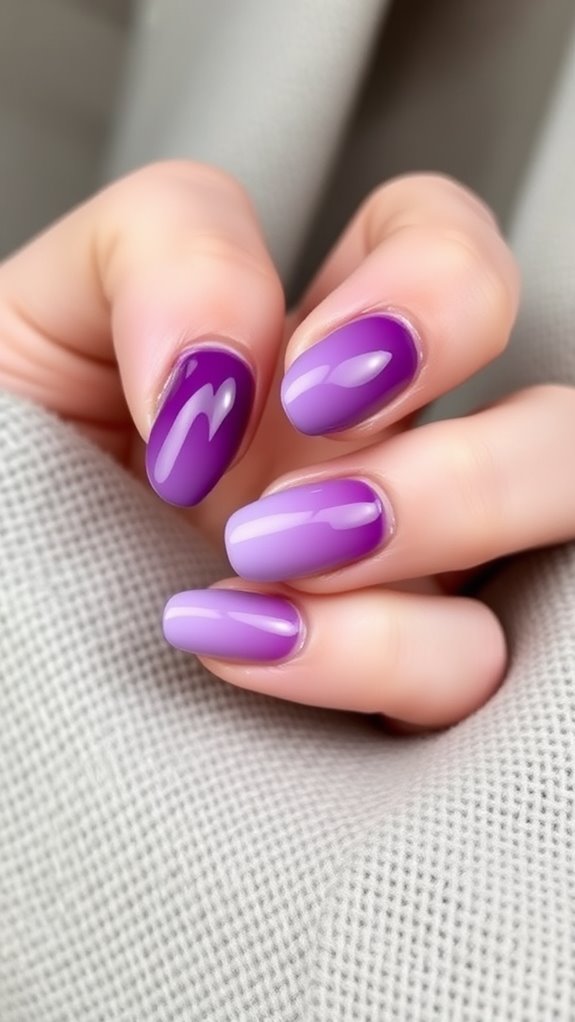
There are countless ombré nail designs that can inspire your next manicure. You might try a sunset gradient with warm oranges and yellows, or a cool ocean blend of blues and greens. For a chic look, consider a monochrome fade using different shades of your favorite color. Don’t forget to add some glitter for an eye-catching touch that’ll elevate your style!