Gradient Ombre Nails- Perfectly Faded
Gradient Ombre Nails- Perfectly Faded
Gradient ombre nails are all about creating a smooth, perfectly faded look that’s visually striking. To nail this design, you’ll need a few essential tools, like a makeup sponge for blending and a small brush for precision. Start with a great base coat to protect your nails. Choose your colors; soft pastels or vibrant hues work beautifully. Apply polish to the sponge, dab it on your nails, and repeat until you achieve the gradient you love. Finish with a top coat for added shine. If you’re curious about advanced techniques and color combinations, there’s plenty more for you to explore!
Understanding Ombre Nail Art

Ombre nail art, while visually striking, can be surprisingly easy to achieve once you understand the basics. It involves blending two or more colors to create a gradient effect, transitioning smoothly from one shade to another. You’ll want to focus on color selection and the technique of application. With practice, you can master the art of ombre nails and create stunning designs effortlessly.
Essential Tools for Gradient Nails

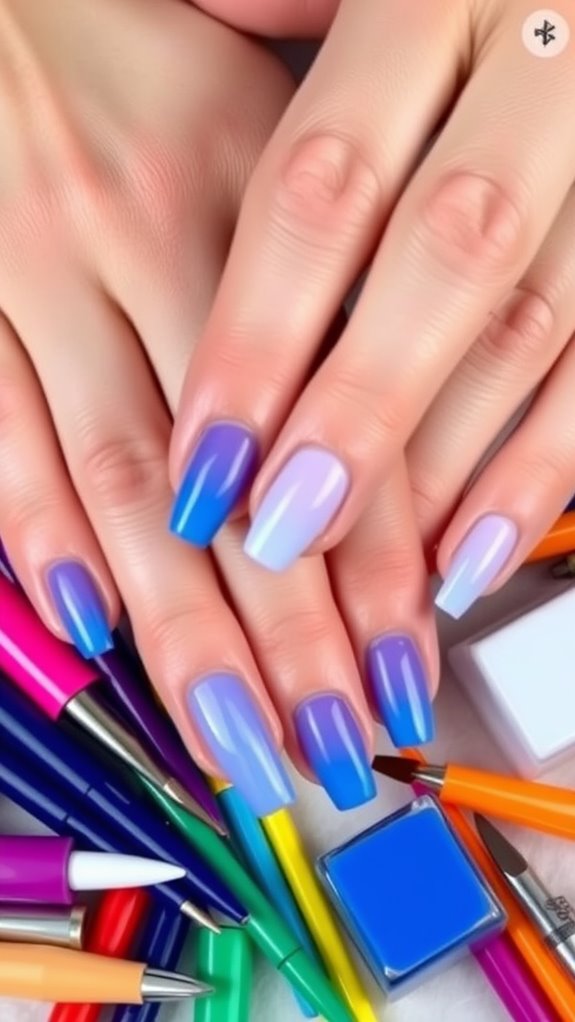
To create the perfect gradient nails, having the right tools is essential. You’ll need a makeup sponge for blending, a small brush for precision, and a good quality base coat to protect your nails. Don’t forget your chosen nail polishes and a top coat to seal the design. With these tools, you’ll be well on your way to stunning gradient nails.
Popular Color Combinations
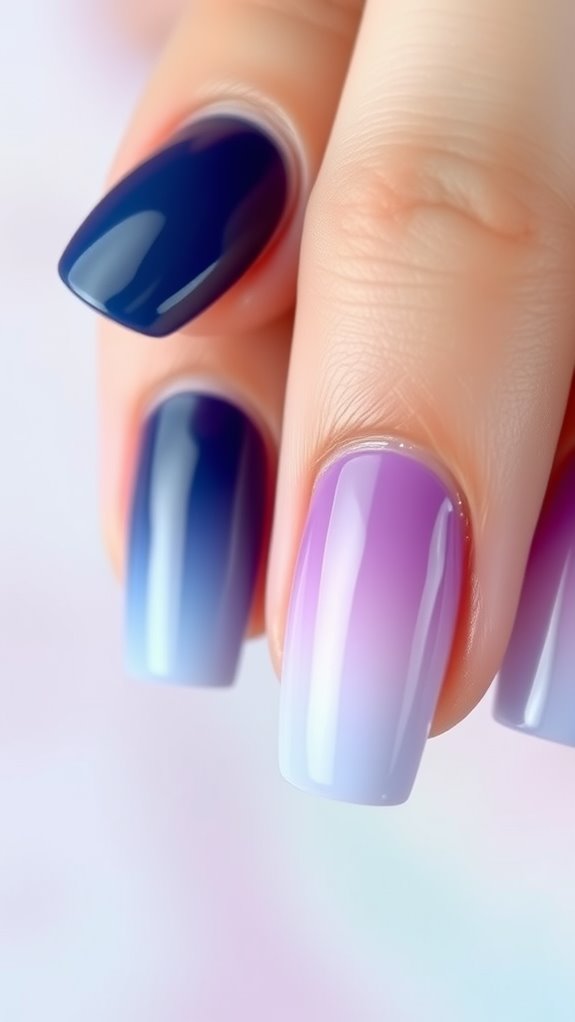
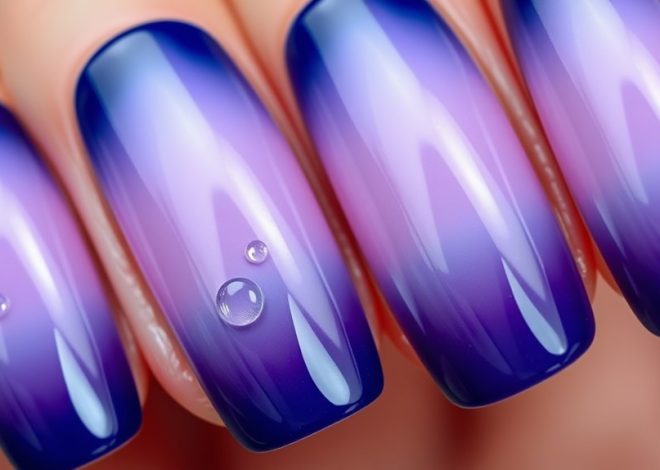
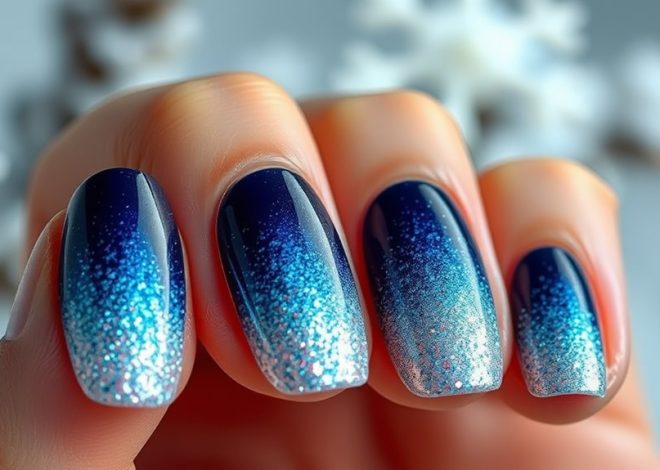
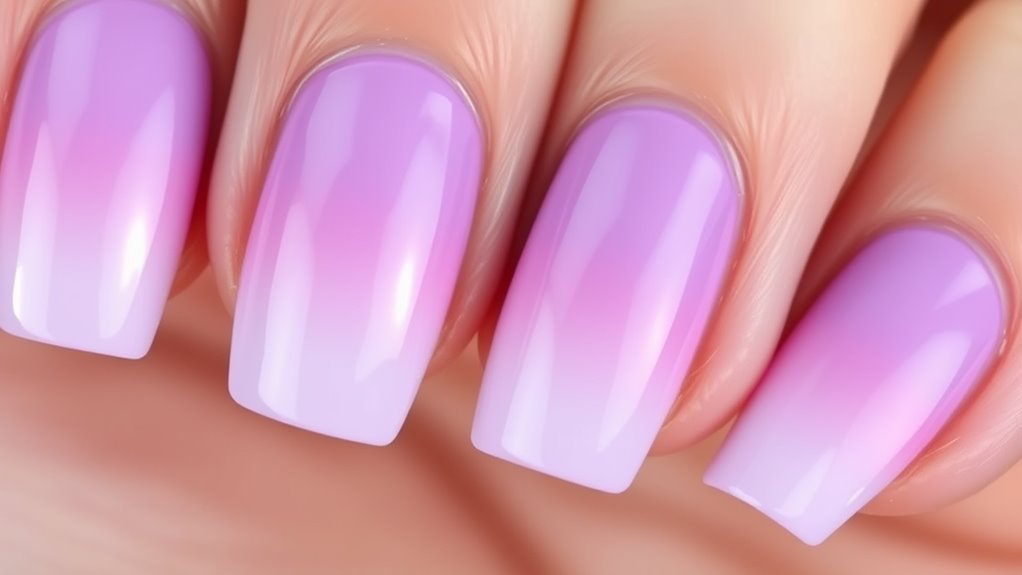
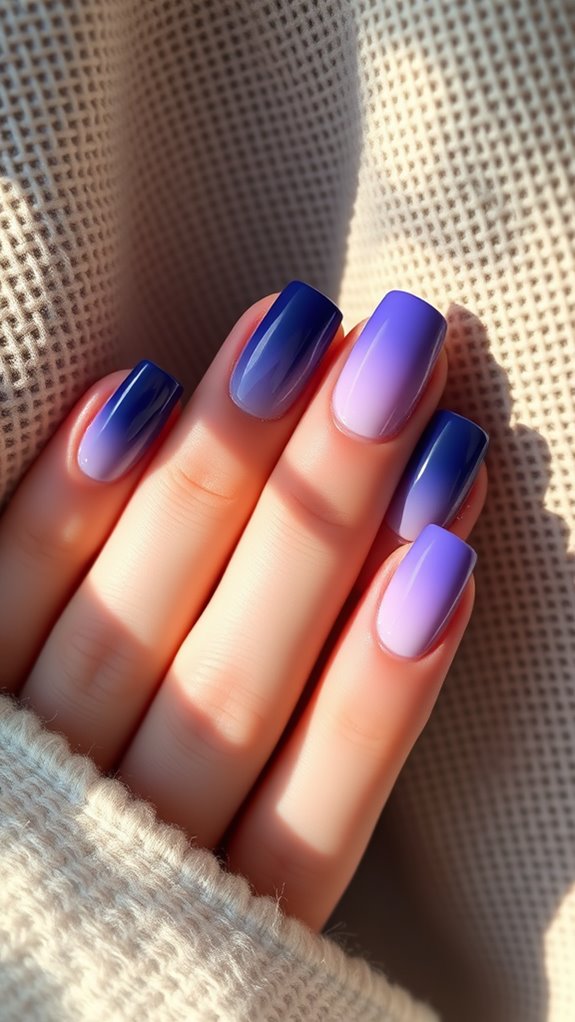
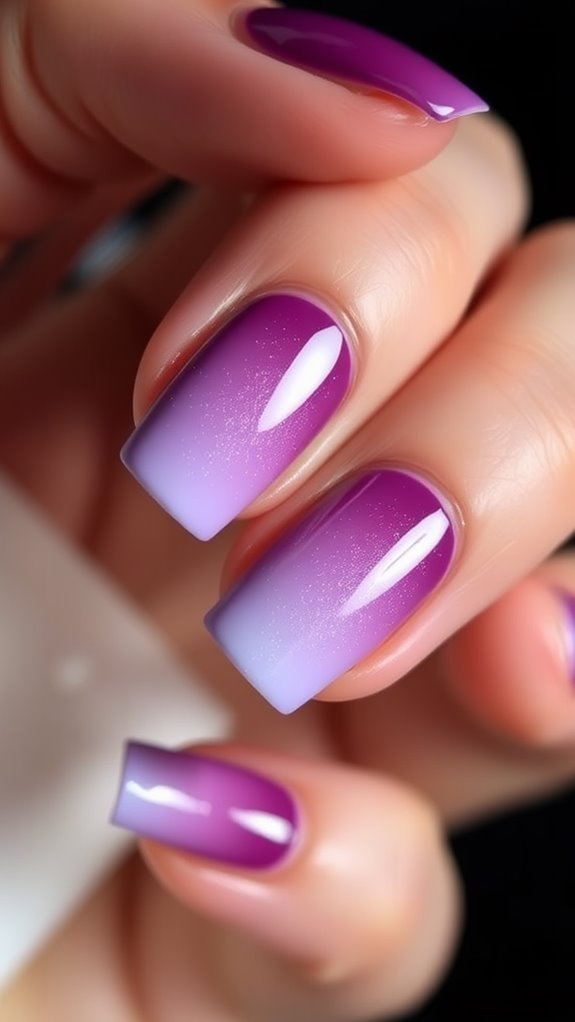
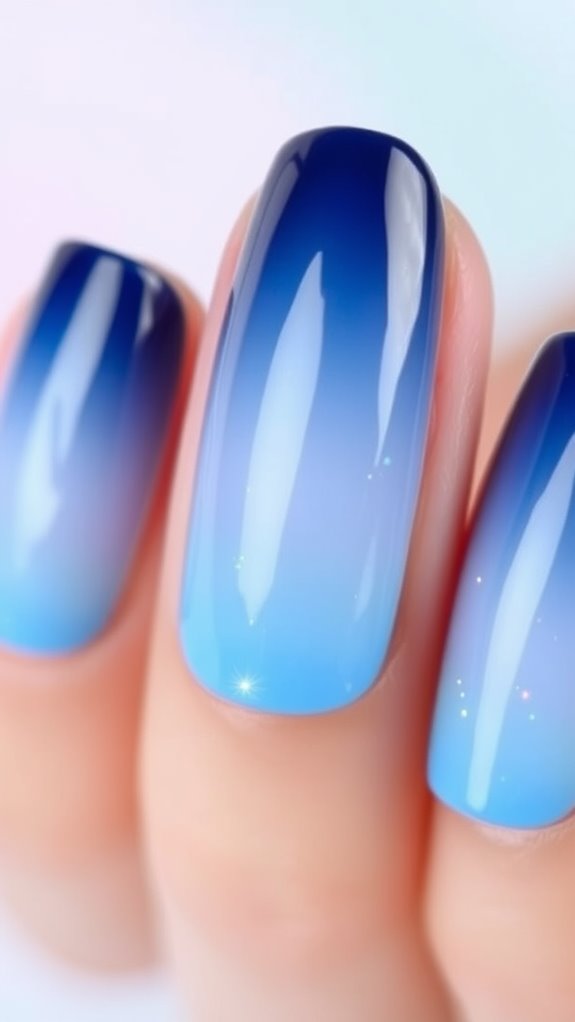
When it comes to gradient nails, choosing the right color combinations can make all the difference in achieving a stunning look. Some popular pairings include soft pastels like lavender and mint, vibrant hues like orange and pink, or classic combos such as navy and silver. Don’t forget to experiment with neutrals like beige and white for a chic, understated effect.
Step-by-Step Application Guide
Creating gradient ombre nails at home is easier than you might think. Start with a base coat, then apply two colors of polish on a makeup sponge. Dab the sponge onto your nails, blending the colors. Repeat until you achieve your desired gradient effect. Finish with a top coat for shine and protection. Let your nails dry completely, and enjoy your stunning look!
Creative Designs and Patterns

A variety of creative designs and patterns can elevate your gradient ombre nails to the next level. Consider adding geometric shapes, floral accents, or even glitter tips for a unique touch. You might also experiment with negative space or nail art stickers to complement your ombre effect. Don’t shy away from mixing colors or textures; it’s all about showcasing your personal style!
Tips for Perfect Blending
Achieving a stunning gradient ombre effect requires some finesse in blending colors smoothly. Start with a base coat and apply your first color generously. Use a makeup sponge to dab on the second color, blending where they meet. For seamless transitions, alternate between the colors, ensuring you don’t overload the sponge. Lastly, seal your design with a top coat for a polished finish.
Nail Care for Ombre Styles
When it comes to maintaining beautiful ombre nails, proper care is essential to keep your design looking fresh and vibrant. Make sure to moisturize your cuticles regularly and avoid exposing your nails to harsh chemicals. Use a gentle top coat to protect the colors and prevent chipping. Lastly, consider scheduling regular touch-ups to ensure your ombre looks flawless for longer.
Inspiring Ombre Nail Tutorials
Ombre nails can be stunning and creative, and there are plenty of tutorials out there to inspire your next manicure. You can explore gradient techniques with sponges, brush strokes, or even dotting tools. Many tutorials showcase unique color combinations and styles, from soft pastels to bold contrasts. Just follow along step-by-step, and soon you’ll have beautiful ombre nails that impress!