Christmas Disney Nails- Magic in Every Detail
Christmas Disney Nails- Magic in Every Detail
You can create magical Christmas Disney nails that capture the spirit of the season and your favorite characters. Start with classic designs inspired by Mickey and Minnie, using festive red and white colors. Experiment with creative techniques like sponging for gradients or using stickers for easy application. Choose a color palette that includes vibrant greens and icy blues to evoke holiday cheer. Don’t forget a solid base and top coat for durability and shine. With a few simple steps and tips, your nails will sparkle with Disney magic, and there’s even more to explore for perfecting your festive look!
Inspiration From Classic Characters

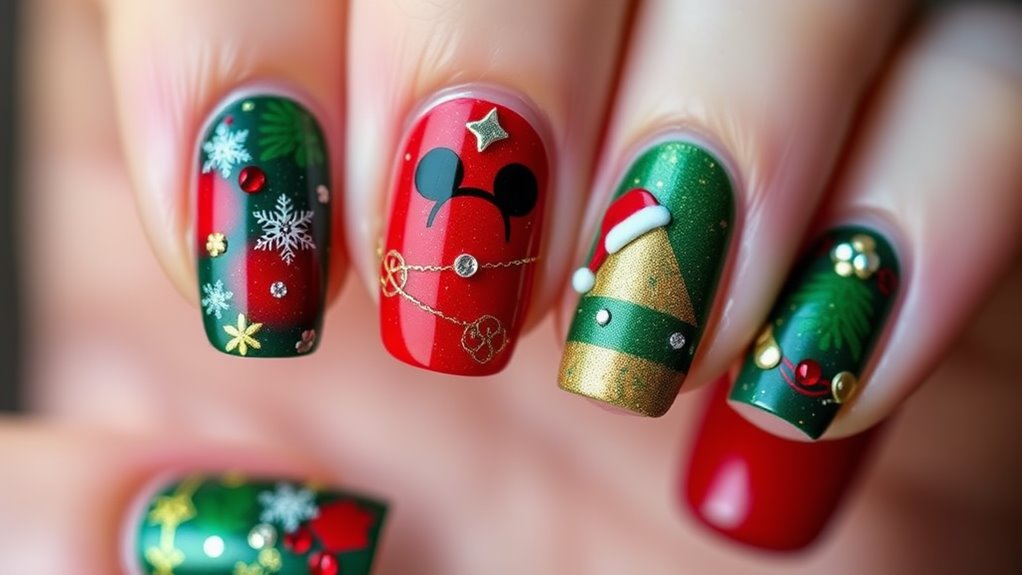
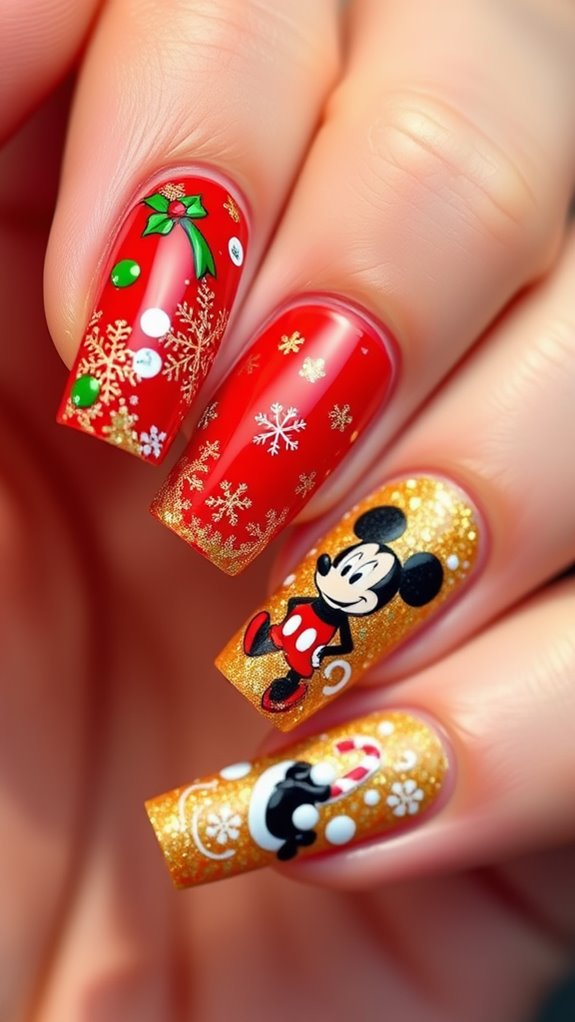
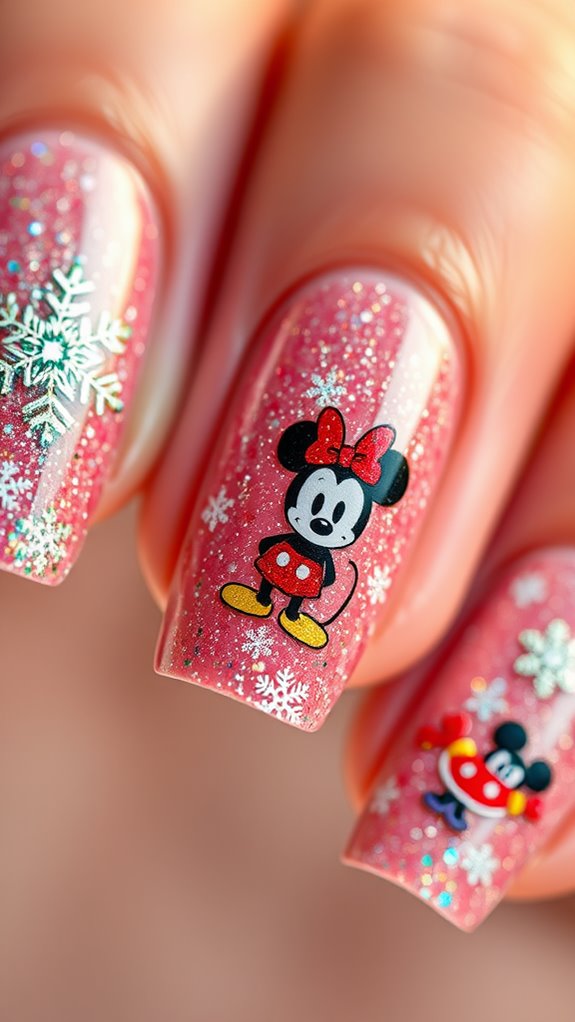
As the holiday season approaches, you might find inspiration for your Christmas nails in classic Disney characters that have captured hearts for generations. Think of Mickey and Minnie, with their iconic red and white color schemes, or perhaps the enchanting snowflakes from Frozen. These beloved characters can add a touch of nostalgia and festive cheer to your holiday manicure, making your nails truly magical.
Creative Nail Techniques
When it comes to your holiday nails, experimenting with creative techniques can elevate your Disney-inspired designs to a whole new level. Try using nail art brushes for intricate details, or opt for sponges to create beautiful gradient effects. Stickers and decals can add a fun touch, while nail dotting tools help you achieve playful polka dots. Let your imagination run wild this festive season!
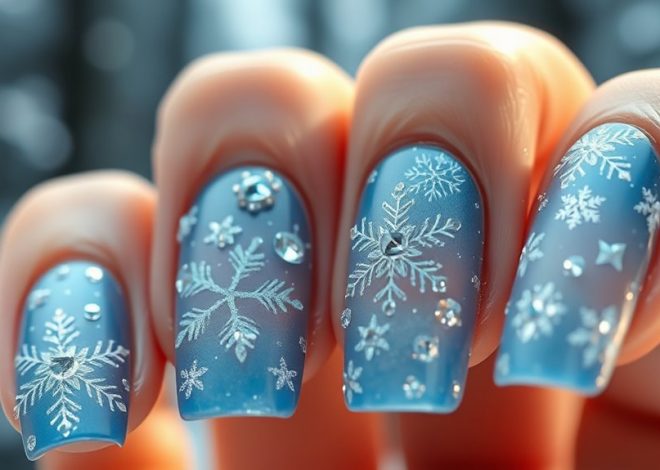
Color Palettes for the Holidays
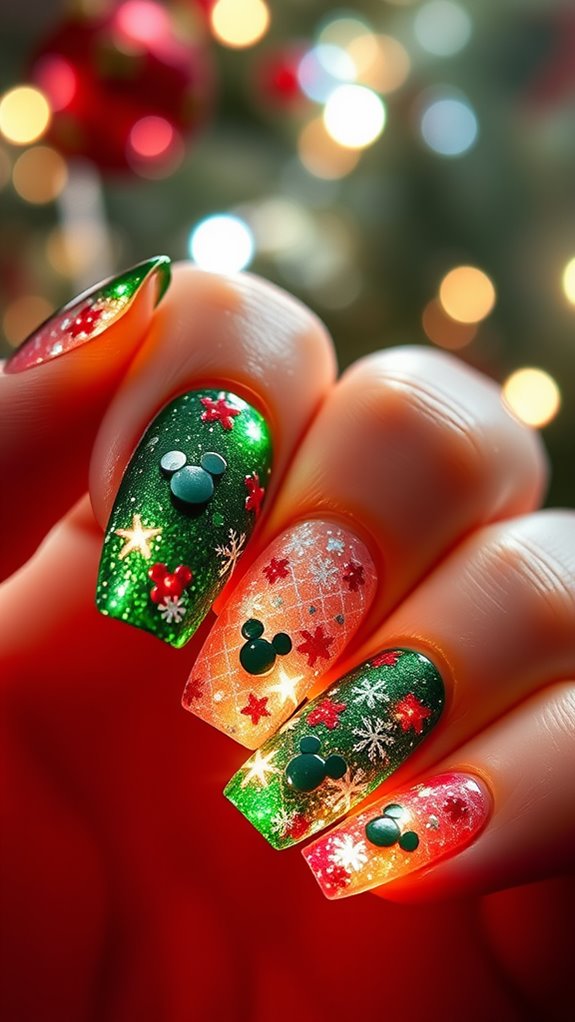
The right color palette can make your Christmas Disney nails truly magical. Think vibrant reds and greens for a classic holiday feel, or go for icy blues and silvers to channel that winter wonderland vibe. Incorporate gold accents for a touch of elegance, or use bold purples and deep blues for a whimsical twist. Choose colors that reflect your favorite Disney characters to capture the festive spirit!
Step-by-Step Design Ideas

To create your Christmas Disney nails, start by choosing a design that reflects your favorite characters or holiday themes. Next, gather your nail tools and polish colors. Begin with a base coat, then apply your chosen colors. Use a fine brush for detailing, adding characters like Mickey or festive elements like snowflakes. Finish with a top coat for shine and protection. Enjoy your festive nails!
Tips for Long-Lasting Art
Achieving long-lasting Christmas Disney nails requires a few key techniques that can make all the difference. Start with a clean nail surface, and always apply a good base coat to protect your nails. Use high-quality nail polish for better durability, and seal your design with a top coat. Don’t forget to reapply the top coat every few days to maintain that festive shine!