
DIY Simple Christmas Nails for Last-Minute Glam
DIY Simple Christmas Nails for Last-Minute Glam
You can achieve festive and glamorous Christmas nails at home in just a few simple steps, even if you’re short on time. Start with a vibrant red base, then add white stripes or candy cane patterns for a cheerful look. For a bit of glam, apply gold glitter on accent nails or try festive snowflake designs using light blue polish. If you prefer a tree design, use green polish and decorate with colorful dots as ornaments. Don’t forget a glossy top coat for that final shine. There’s even more creativity waiting for you, so keep exploring these fun ideas!
Essential Tools and Supplies

When diving into DIY Christmas nails, gathering the right tools and supplies is essential for achieving that perfect festive look. You’ll need a good quality nail polish in various colors, a base coat, and a top coat for shine. Don’t forget nail art brushes, dotting tools, and nail decals for added flair. With these essentials, you’re ready to create stunning holiday designs!
Classic Red and White Design

With your tools and supplies at the ready, it’s time to embrace the classic red and white design that perfectly captures the spirit of Christmas. Start by painting your nails a vibrant red. Once dry, use white polish to create festive stripes or dots. You can even add candy cane patterns for extra flair. This timeless look is sure to bring holiday cheer to your fingertips!
Glittery Gold Accent Nails

Add a touch of glamour to your holiday nails with glittery gold accent designs. You can easily create stunning looks by painting a few nails gold while keeping others a classic red or white. Use gold glitter polish for a sparkling effect, or try gold foil for a chic touch. These accents will elevate your festive manicure, making it perfect for any holiday gathering!
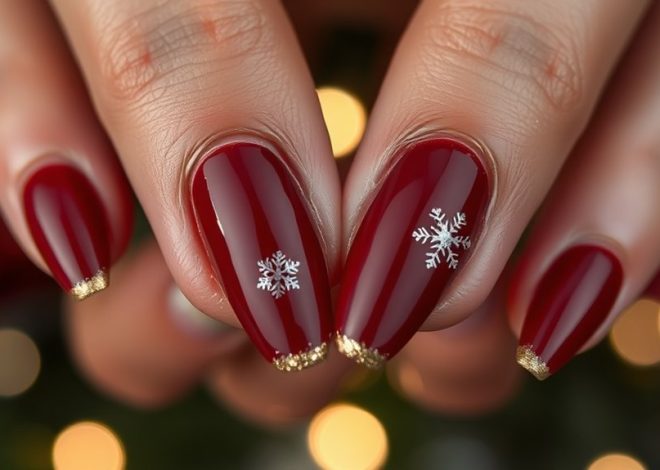
Festive Snowflake Patterns

After adding some sparkle with glittery gold accents, why not embrace the beauty of winter with festive snowflake patterns? You can easily create these designs by using a white or light blue polish as your base. Grab a thin nail art brush, and carefully paint delicate snowflakes in varying sizes. Finish with a top coat to seal your masterpiece and add shine.
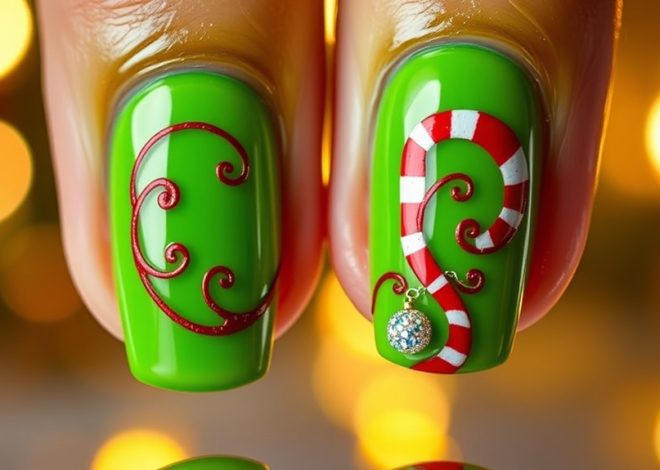
Easy Christmas Tree Art

Creating easy Christmas tree art on your nails can be a fun way to celebrate the holiday season. Start with a green base coat, then use a thin brush or dotting tool to create tree shapes. Add small colorful dots for ornaments and a gold or silver star at the top. Finish with a glossy top coat for a festive shine that captures the holiday spirit!
Candy Cane Stripes
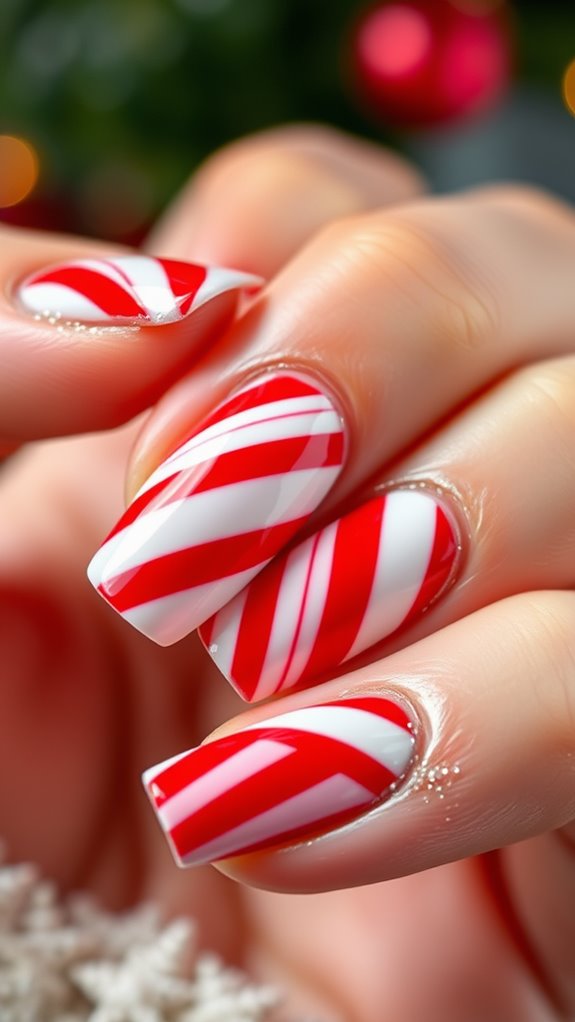
Candy cane stripes are a classic holiday nail design that effortlessly brings festive cheer to your fingertips. To achieve this look, simply paint your nails red and let them dry. Then, using a thin nail art brush, add white stripes in a diagonal pattern. Finish with a clear topcoat for shine. You’ll have sweet, eye-catching nails ready for any holiday gathering!
Elegant Holiday French Tips

If you’re looking to elevate your holiday nail game, elegant holiday French tips are the perfect choice. This classic design adds a festive twist by incorporating glittery or metallic colors for the tips. You can also experiment with different base shades, like deep red or emerald green, to enhance the holiday vibe. These chic nails will surely impress at any holiday gathering!
Tips for Quick Application

Applying your holiday nail design doesn’t have to be a time-consuming task. Start with a quick-dry base coat to speed up the process. Use nail strips or stencils for precise designs without the mess. Stick to one or two accent nails to keep it simple. Finish with a fast-drying top coat to seal everything in place, and you’re all set for the festivities!