Encapsulated Nails- Glitter & Glam
Encapsulated Nails- Glitter & Glam
Encapsulated nails bring together the dazzling effects of glitter and glam with unbeatable durability. You’ll love how these designs protect your artwork from chipping and fading, ensuring your nails stay stunning for weeks. They look fabulous whether you choose chunky glitter for a bold look or fine glitter for something more subtle. The application process is simple but requires attention to detail, like layering and curing. Plus, maintenance is a breeze, needing fewer touch-ups than traditional styles. If you’re curious about the top tips and creative variations to try, there’s so much more to explore!
What Are Encapsulated Nails?
Encapsulated nails, in essence, are a modern solution for nail enhancement that combines the beauty of traditional acrylics with a protective covering. They involve layering a design, like glitter or foils, between clear acrylic layers. This technique not only showcases your creativity but also protects the artwork from chipping or fading, ensuring your nails look stunning for longer without constant touch-ups.
Benefits of Encapsulated Nails
When you choose encapsulated nails, you’re opting for a nail enhancement that offers numerous benefits beyond just aesthetic appeal. They’re durable and can withstand daily wear, reducing the need for frequent touch-ups. Plus, encapsulated designs protect your natural nails from damage while allowing for unique, personalized styles. You’ll enjoy long-lasting beauty without compromising the health of your nails.
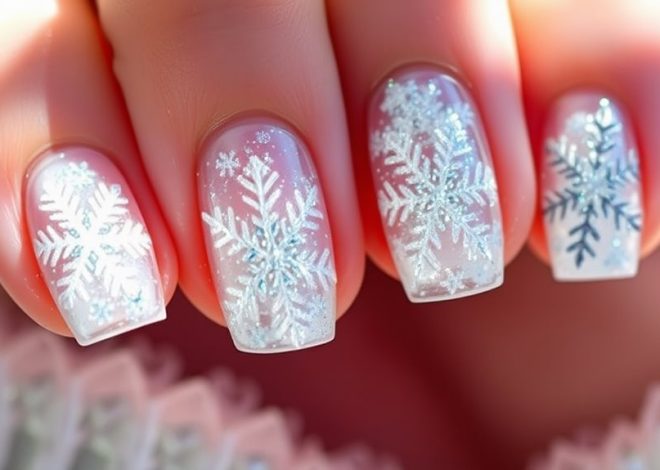
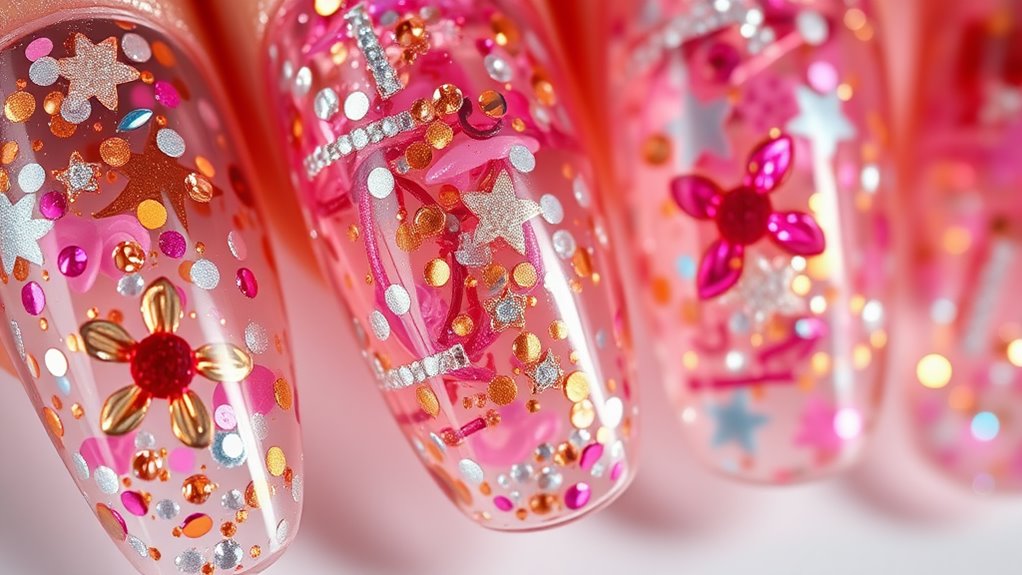
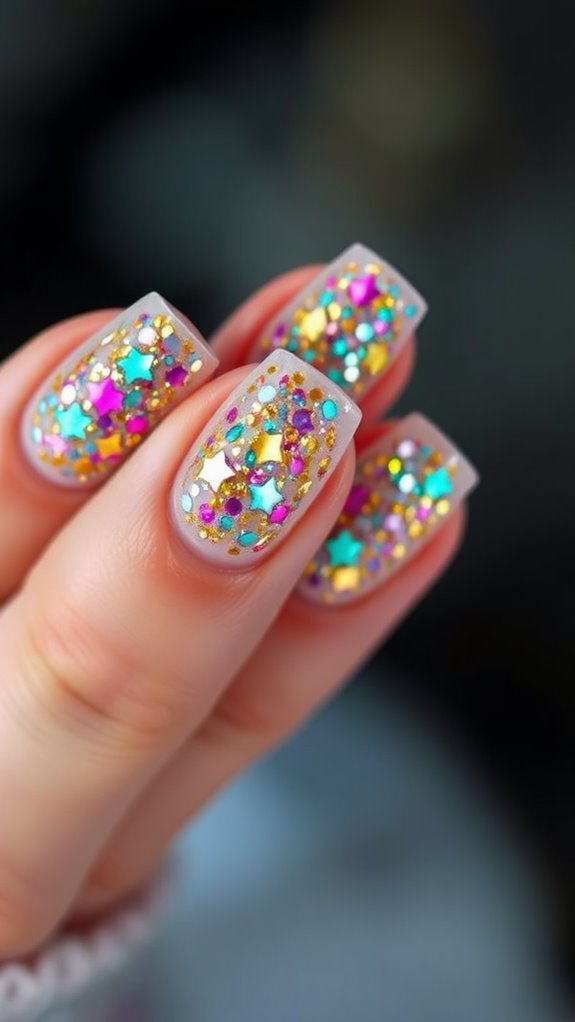
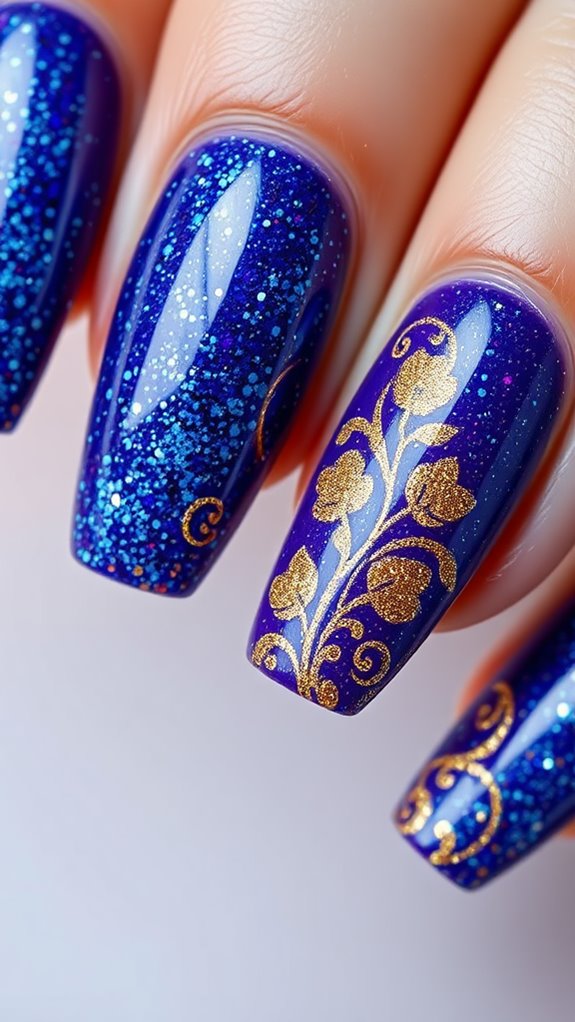
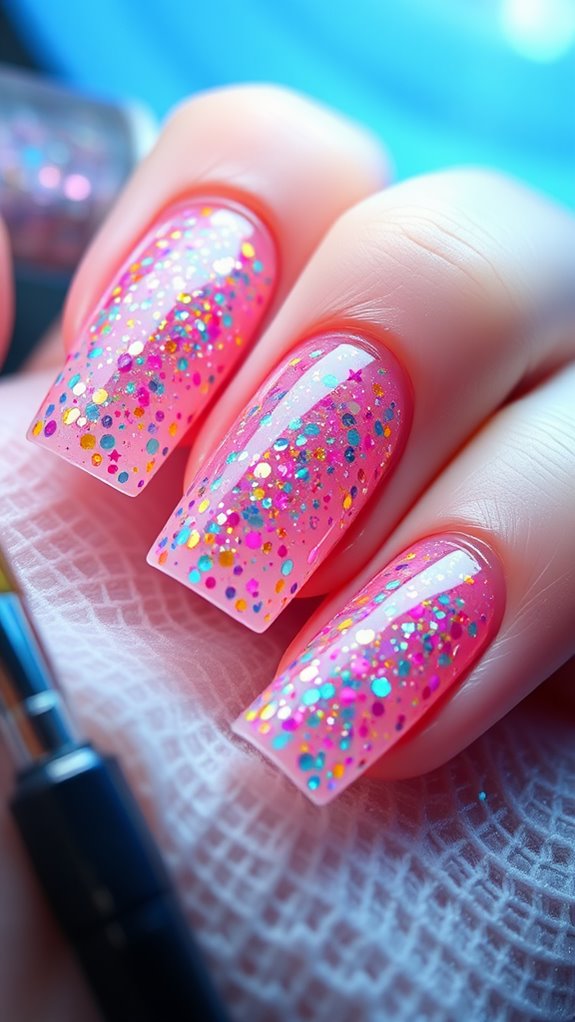
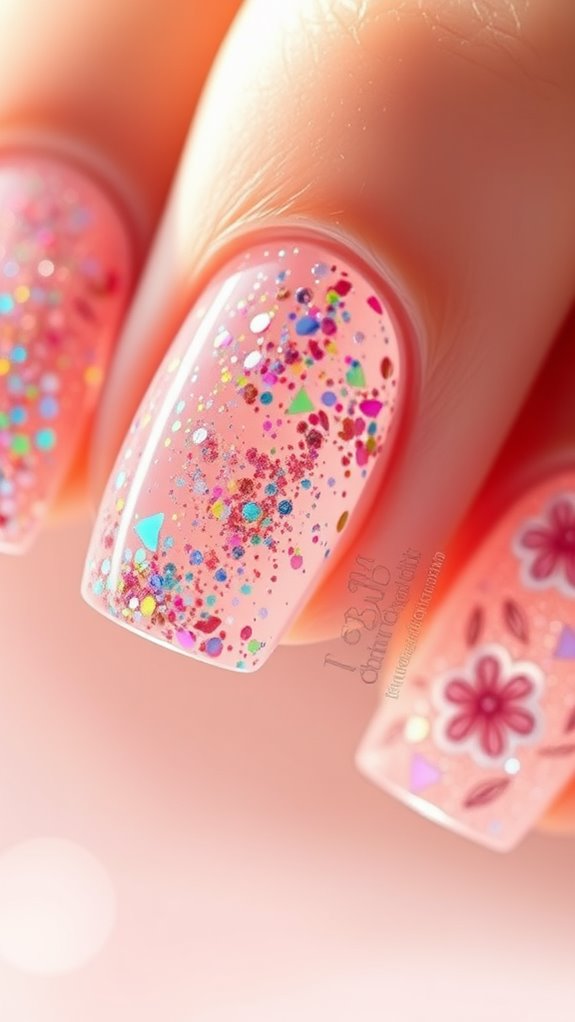
Popular Glitter Designs
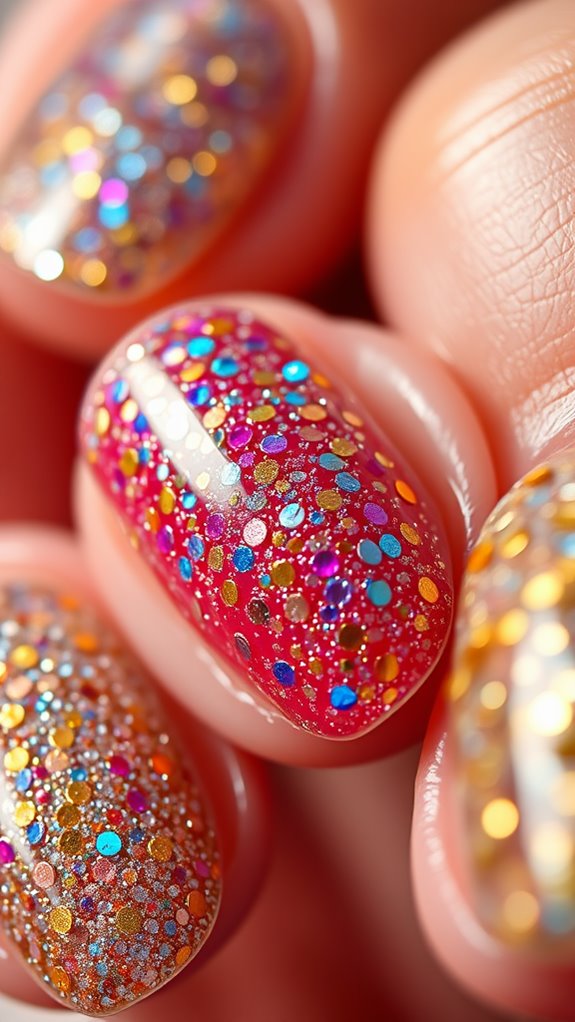
Glitter designs have become a favorite choice for those looking to add a touch of sparkle to their encapsulated nails. Popular options include holographic glitter for a multidimensional effect, chunky glitter for bold statements, and fine glitter for a subtle shimmer. You might also consider ombre styles, where glitter fades from one color to another, creating a stunning gradient look.
Step-by-Step Application Process
Adding glitter to your nails can elevate their appearance, but achieving that perfect encapsulated look requires a careful application process. Start by prepping your nails and applying a base coat. Next, apply a layer of gel or acrylic, then sprinkle glitter evenly. Cure or let it set, followed by another layer to encapsulate the glitter. Finish with a top coat for shine and protection.
Essential Tools and Materials
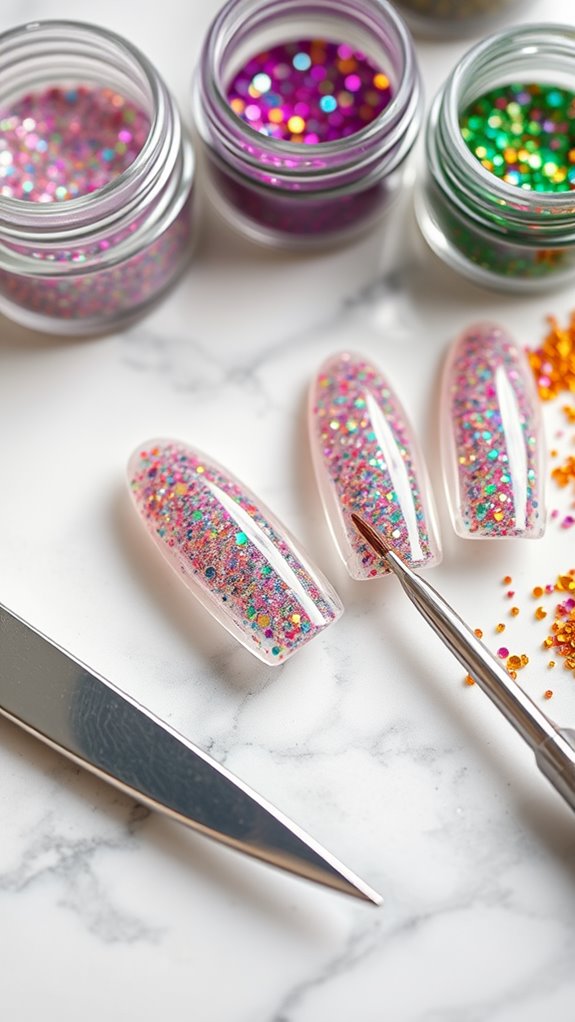
To get started on your encapsulated nails, you’ll want to gather the right tools and materials. You’ll need a nail file, buffer, base coat, gel polish, and encapsulating gel. Don’t forget glitter or any decorative elements you want to use. A UV or LED lamp for curing is essential, too. With these supplies, you’re ready to create stunning, encapsulated nails!
Tips for Long-Lasting Results

Consistently following a few key tips can significantly enhance the longevity of your encapsulated nails. Always start with a clean nail surface, and apply a good quality base coat. Use thin layers of gel or polish, curing properly between each application. Regularly moisturize your cuticles and avoid harsh chemicals. Lastly, wear gloves while doing chores to protect your nails from damage.
Creative Variations to Try
After ensuring your encapsulated nails are well-maintained with the right techniques, it’s time to explore some exciting creative variations. Consider mixing different glitter colors for a unique blend, or try encapsulating dried flowers for a natural touch. Ombre effects can elevate your look, while adding charms or tiny gems can bring a playful flair. Don’t hesitate to experiment and express your style!
Maintenance and Care Tips

When it comes to keeping your encapsulated nails looking their best, regular maintenance is key. Make sure to moisturize your cuticles daily to prevent dryness. Avoid using your nails as tools, and wear gloves when doing chores. Schedule regular fills every two to three weeks to maintain the look. Lastly, always use a gentle nail polish remover to protect the encapsulation.