
Encapsulated Snowflake Nails- A Frosty Trend
Encapsulated Snowflake Nails- A Frosty Trend
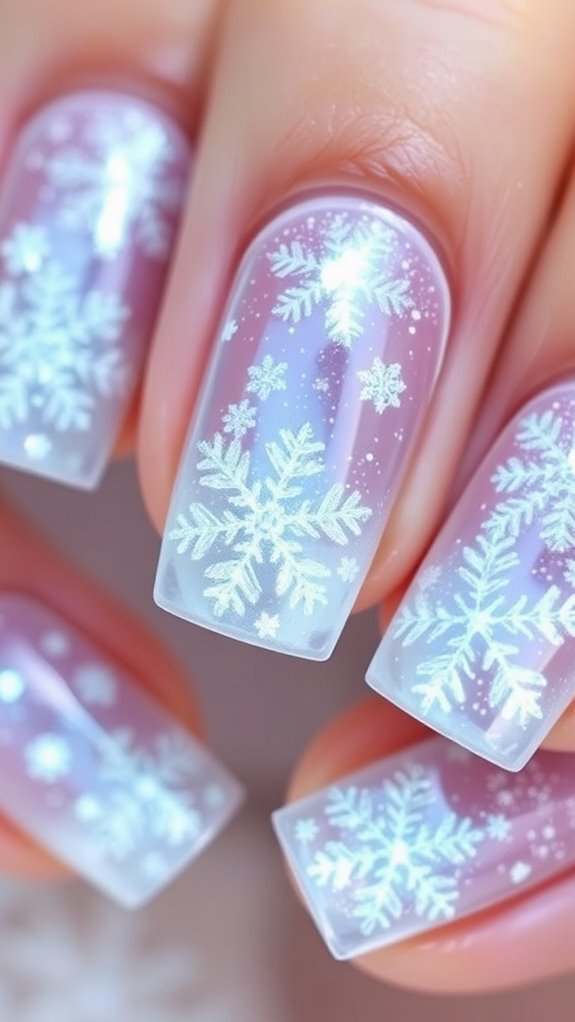
Encapsulated snowflake nails are the perfect way to embrace winter elegance with a stunning 3D effect. You’ll find snowflake designs beautifully embedded in clear gel or acrylic, creating the illusion of ice-suspended art. This trend reflects light beautifully, enhancing your seasonal style. To achieve this look, you’ll need a few tools like a nail brush, clear base, and UV lamp. After preparing your nails, you can paint the snowflakes and encapsulate them for a frosty finish. Want to explore color combinations and care tips to keep your nails looking fresh? Keep going for more insights!
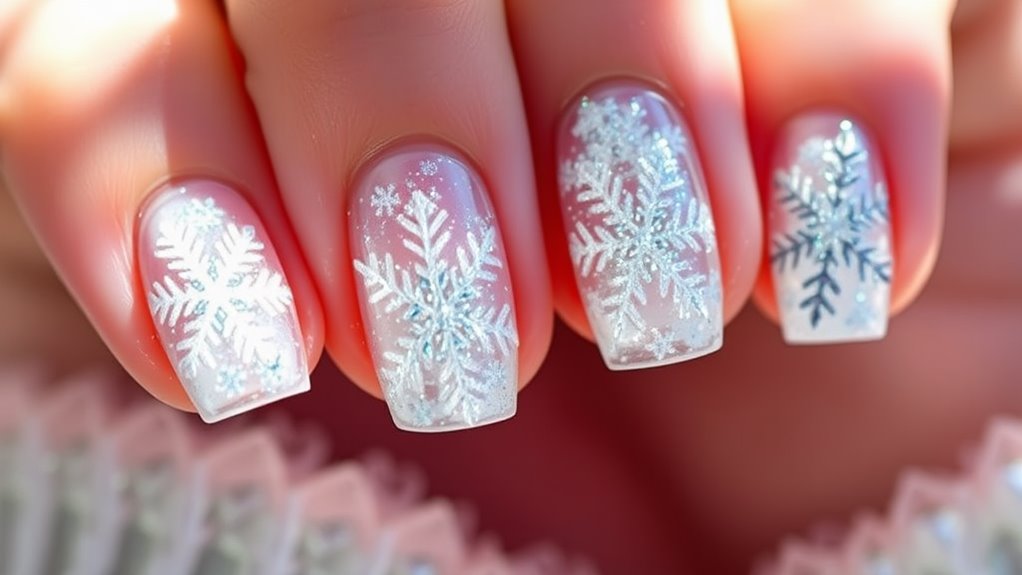
What Are Encapsulated Snowflake Nails?

Encapsulated snowflake nails are a stunning nail art trend that combines wintery charm with a unique three-dimensional effect. This technique involves embedding intricate snowflake designs within layers of clear gel or acrylic, giving the illusion they’re suspended in ice. You’ll love how they capture light and reflect a frosty aesthetic, making your nails not just art, but a statement of seasonal beauty.
Essential Tools and Materials
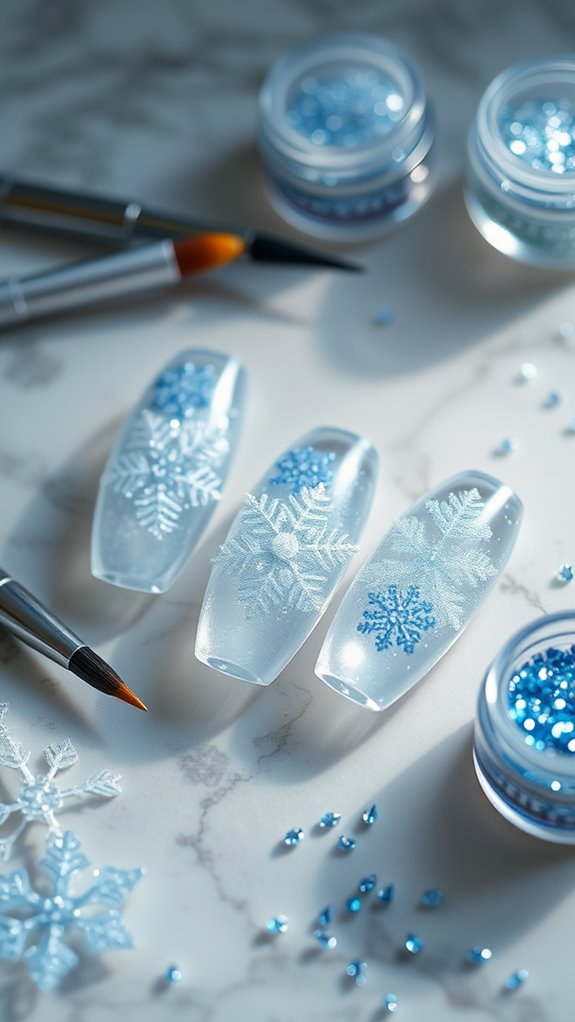
To achieve the mesmerizing look of encapsulated snowflake nails, you’ll need some specific tools and materials. Start with a nail brush, dotting tools, and tweezers for precise placement. You’ll also need a clear acrylic or gel base, snowflake embellishments, and a UV lamp if you’re using gel. Don’t forget a top coat to seal your design and enhance its shine!
Step-by-Step Application Process
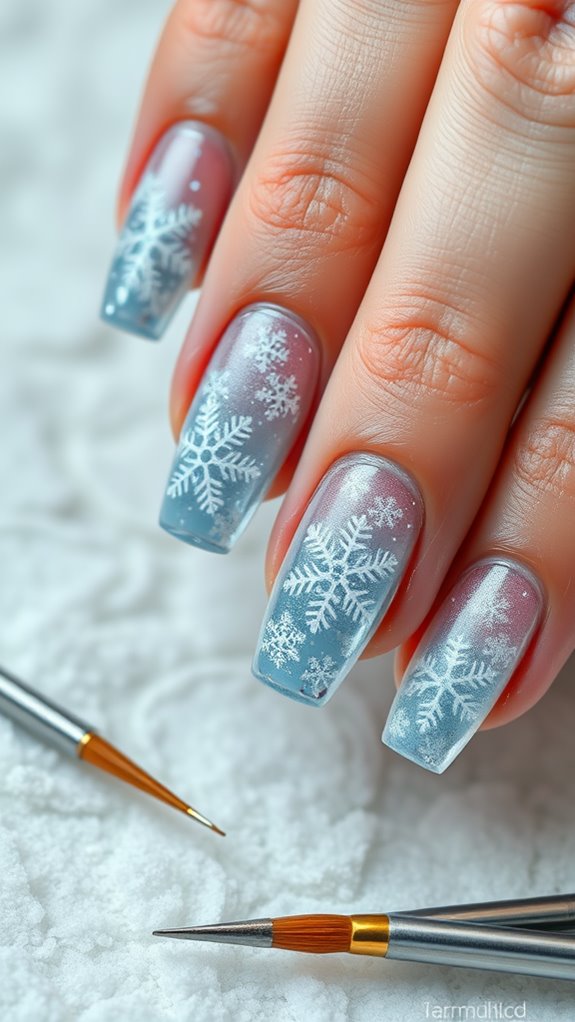
When you’re ready to create your stunning encapsulated snowflake nails, start by preparing your natural nails. File and buff them for a smooth surface. Apply a base coat, then cure it under a UV lamp. Next, use a nail art brush to paint snowflakes with white gel polish. Once they’re dry, apply clear acrylic to encapsulate the design and cure again for a perfect finish.
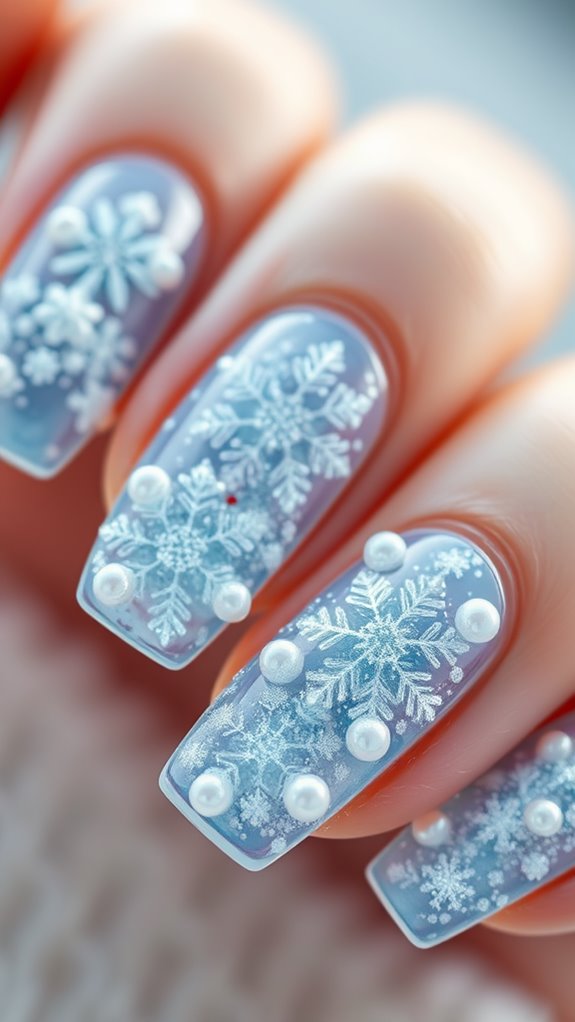
Creative Color Combinations
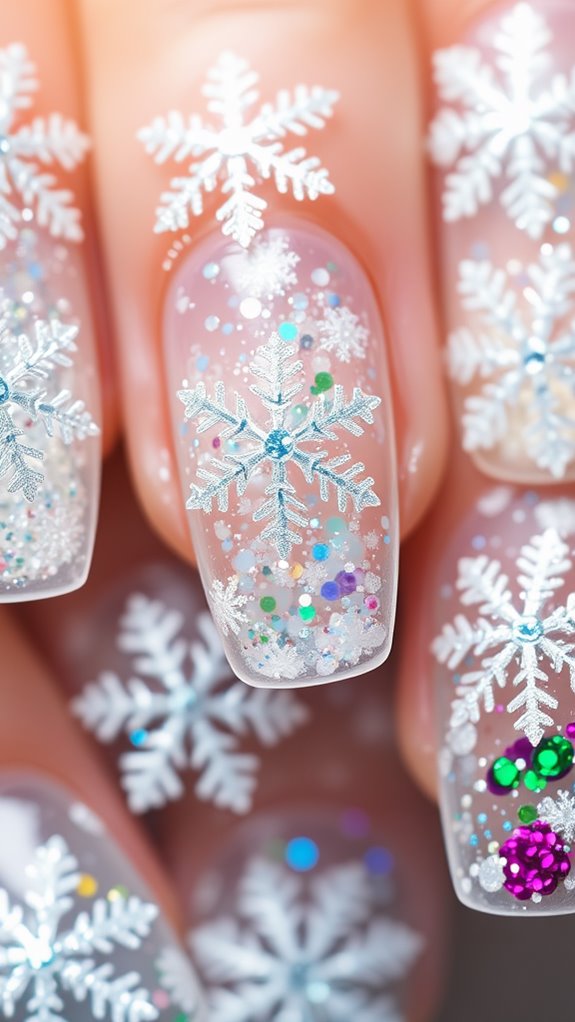
After you’ve perfected the snowflake design, it’s time to think about color combinations that can make your nails truly pop. Consider pairing icy blues with silver glitter for a classic winter look. For a bolder choice, try deep purples with bright whites. You could even mix pastels for a softer vibe. Whatever you choose, ensure the colors complement each other for maximum impact.
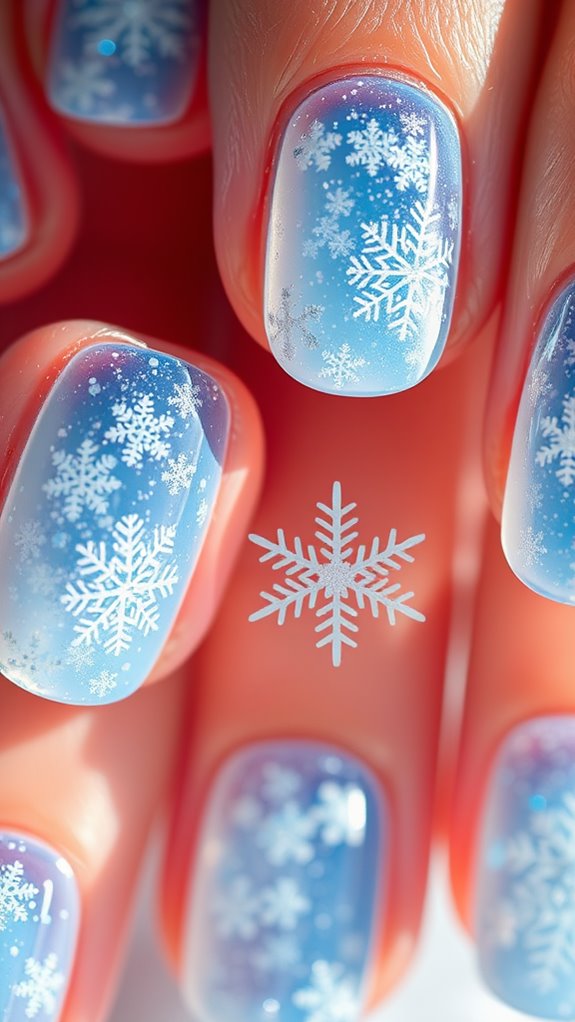
Unique Snowflake Design Techniques
Unlocking unique snowflake design techniques can elevate your nail art to an entirely new level. Try using a dotting tool for intricate patterns or a fine brush for delicate lines. Layering different shades of white and blue can create depth, while adding glitter can mimic sparkling snow. Experimenting with negative space can also yield stunning results. Your creativity knows no bounds!
Nail Care and Maintenance Tips
Nail care and maintenance are essential for keeping your encapsulated snowflake nails looking fresh and beautiful. To maintain their appearance, regularly moisturize your cuticles and avoid harsh chemicals. Use a gentle cleanser when washing your hands, and always wear gloves while doing chores. Schedule regular touch-ups with your nail technician to keep your designs intact and avoid chipping. Treat your nails with care!
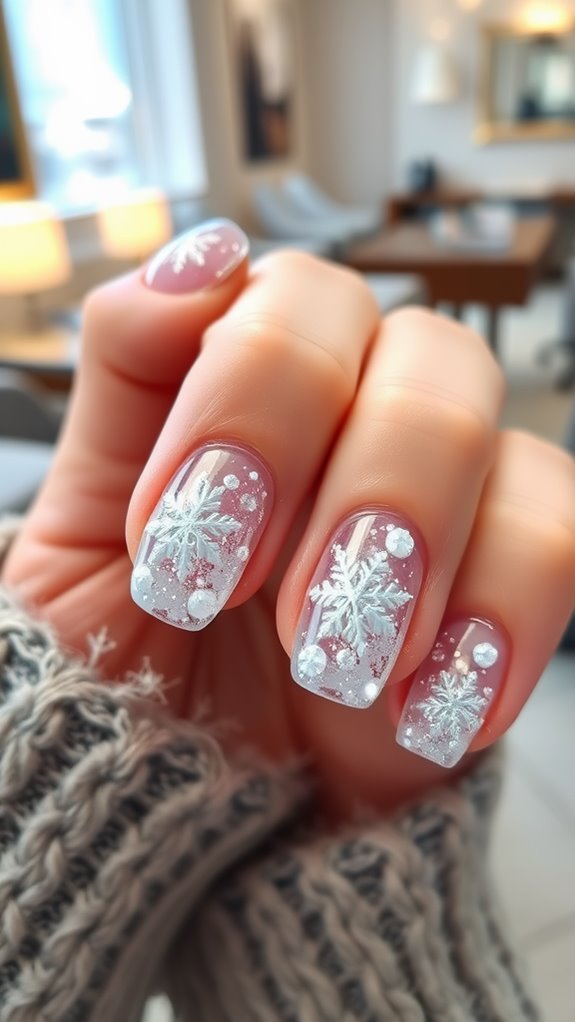
Seasonal Inspiration and Ideas
Keeping your encapsulated snowflake nails in top shape not only helps them look stunning but also allows you to fully enjoy seasonal inspirations and ideas. Think of incorporating icy blues and whites, or even adding a hint of glitter for an extra sparkle. You can also experiment with different snowflake designs and sizes to match your winter wardrobe, making your nails the perfect seasonal accessory.
Where to Find Professional Services
If you’re looking to achieve the perfect encapsulated snowflake nails, finding a skilled nail technician is essential. Check local nail salons or beauty spas that specialize in intricate designs. You can also search online for reviews or ask friends for recommendations. Social media platforms often showcase artists’ portfolios, helping you find someone who can bring your frosty vision to life.


