Hello Kitty Christmas Nails- Cute and Festive
Hello Kitty Christmas Nails- Cute and Festive
You can create adorable Hello Kitty Christmas nails that’ll spread holiday cheer! Start by prepping your nails and choosing festive colors like vibrant reds, sparkling greens, and snowy whites. Use a fine-tipped brush to add Hello Kitty’s iconic face and her cute bow on different nails. For a little extra flair, consider using fun stickers or decals like Santa hats and snowflakes. Don’t forget to finish with a top coat for shine and durability. With these tips, you’ll have a cute and festive look perfect for any holiday gathering. Discover even more fun ideas to brighten your nail art!
Essential Nail Tools
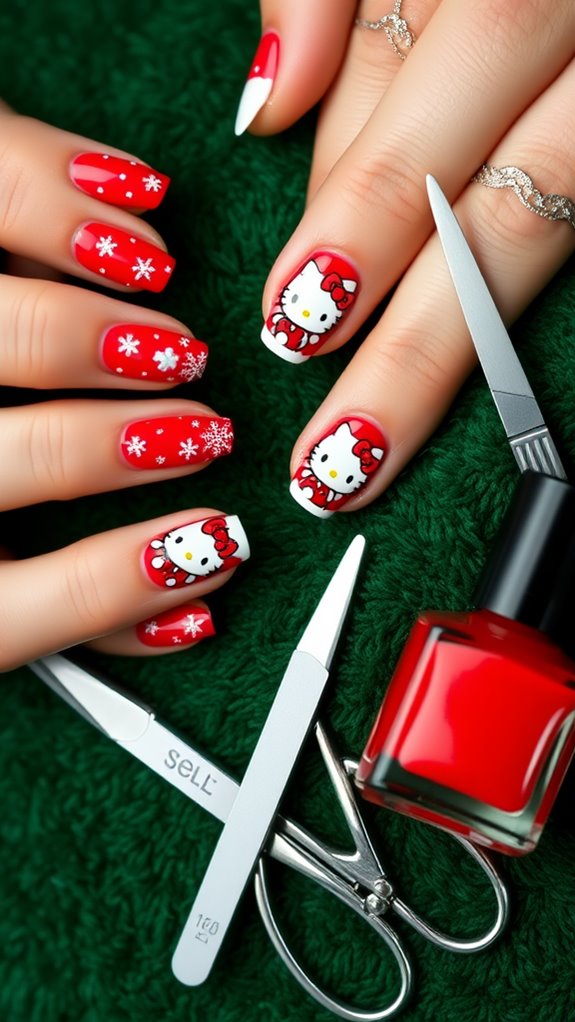
To create the perfect Hello Kitty Christmas nails, you’ll need a few essential tools at your fingertips. Start with a good quality nail polish in festive colors, a fine-tipped nail art brush for detailing, and dotting tools for those cute accents. Don’t forget a top coat for shine and longevity. Having nail tape can also help create clean lines for your designs!
Classic Hello Kitty Designs

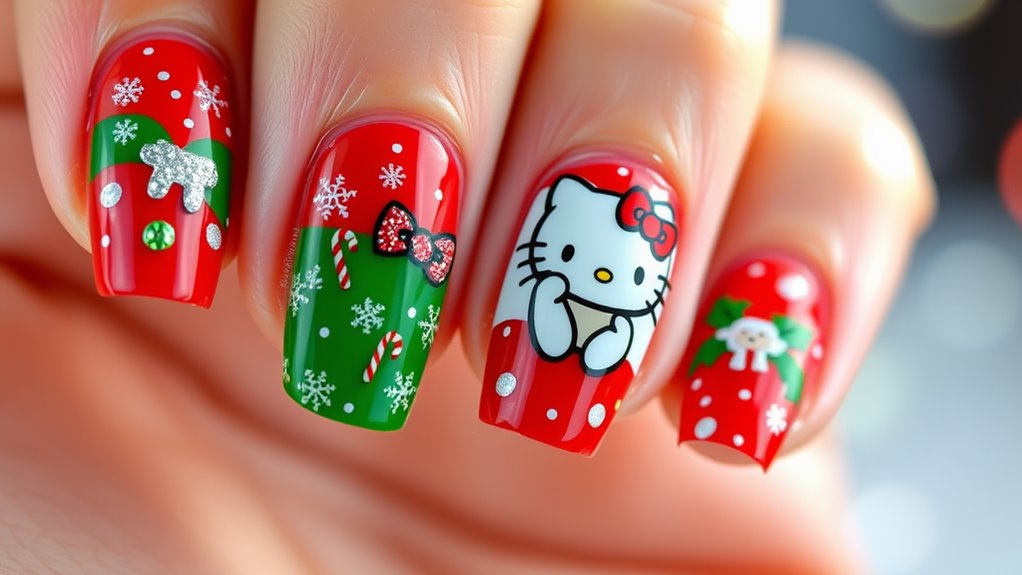
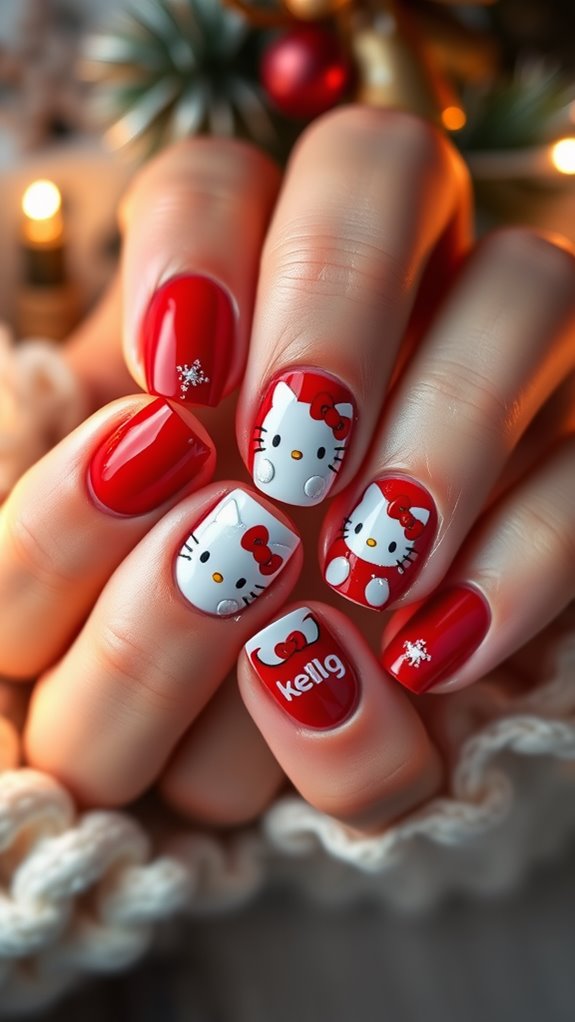
When it comes to classic Hello Kitty designs, you can’t go wrong with her iconic features. Think about her signature bow and adorable face, which are perfect for nail art. You can create simple yet charming patterns, like painting her face on one nail and her bow on another. These designs are timeless and instantly recognizable, making your Christmas nails both cute and festive!
Holiday Color Palette
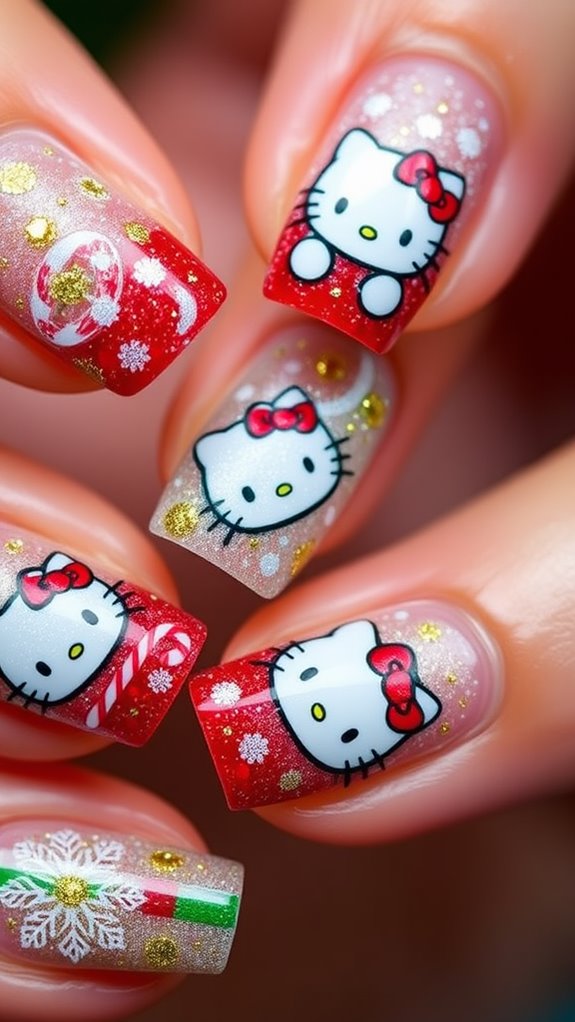
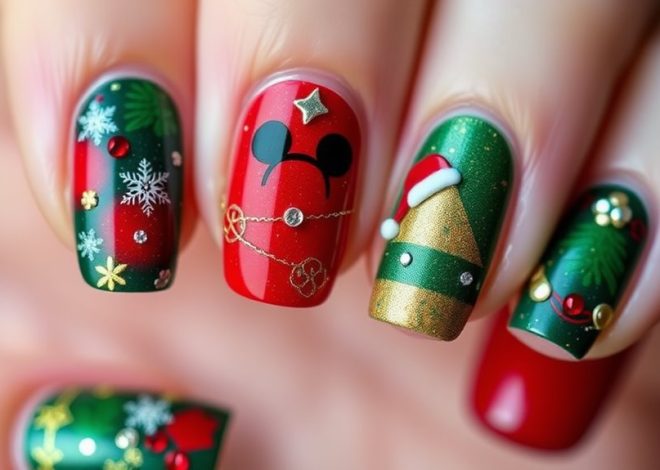
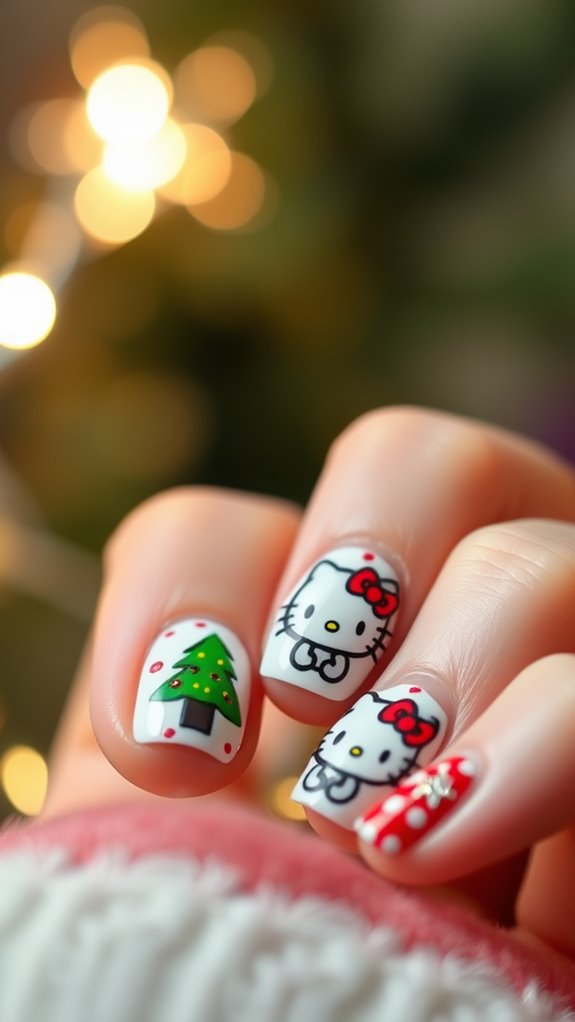
Incorporating a holiday color palette into your Hello Kitty Christmas nails can elevate your festive look. Think vibrant reds, sparkling greens, and snowy whites, which perfectly capture the spirit of the season. You might also consider adding touches of gold or silver for that extra shimmer. These colors not only enhance your designs but also make your nails stand out at any holiday gathering.
Step-by-Step Nail Art Tutorials

Creating your own Hello Kitty Christmas nails can be a fun and rewarding experience. Start by prepping your nails with a base coat. Paint your nails in festive colors. Then, using a fine brush, add Hello Kitty’s face on one or two accent nails. Finish with a top coat for shine. Let everything dry, and enjoy your adorable holiday nails!
Fun Stickers and Decals
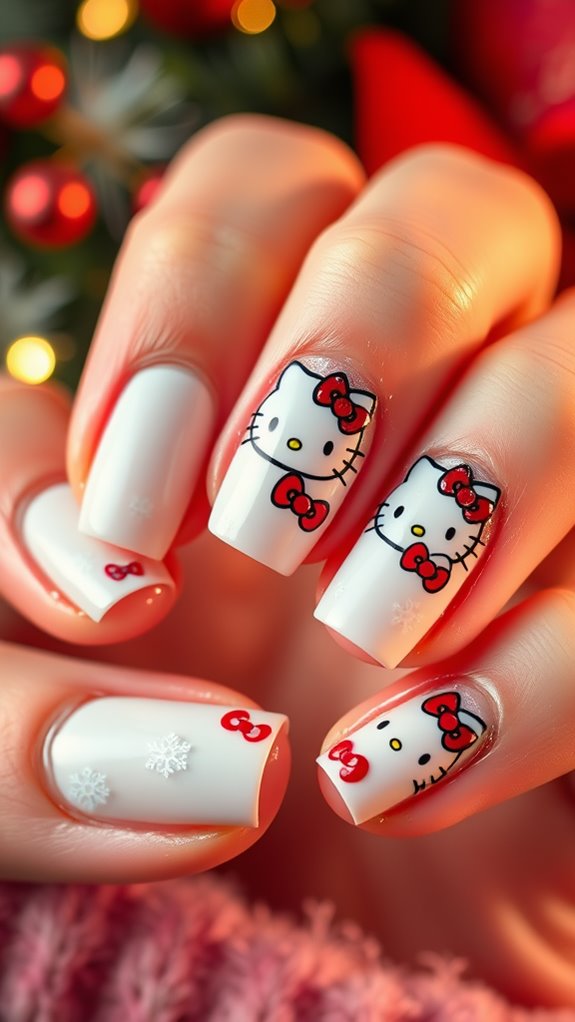
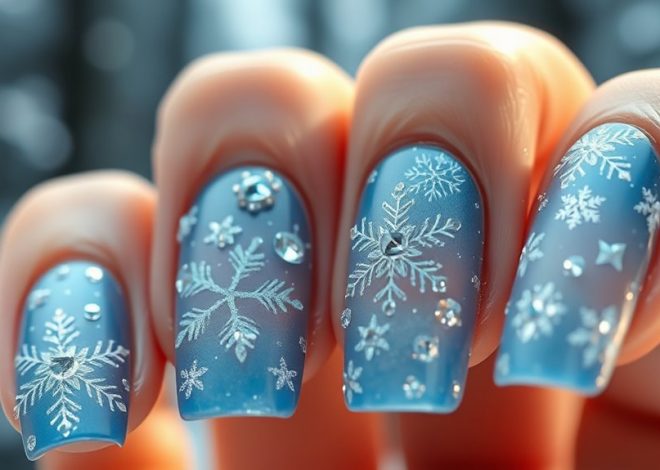
If you want to add some extra flair to your Hello Kitty Christmas nails, fun stickers and decals are a great option. You can choose from various designs, like Santa hats, snowflakes, or, of course, Hello Kitty herself! Just apply them on your freshly painted nails for an instant festive touch. They’re easy to use and make your nails pop with holiday cheer!
Nail Care Tips for Winter
During the winter months, your nails can take a beating from the cold, dry air. To keep them healthy, moisturize regularly with cuticle oil and hand cream. Avoid hot water when washing your hands, as it can strip natural oils. Wear gloves outdoors to protect your nails from harsh conditions, and consider using a strengthening base coat before applying polish.
Showcasing Your Hello Kitty Nails
After taking care of your nails throughout the winter, it’s time to show off your Hello Kitty designs. Whether you’re attending a holiday party or just enjoying a cozy night in, let your nails be the star. Snap some close-up photos to highlight the adorable details, and don’t forget to share them on social media—your friends will love the festive cheer!