
How to Rock Glitter Gradient Ombré Nails This Winter
How to Rock Glitter Gradient Ombré Nails This Winter
You can easily rock glitter gradient ombré nails this winter by following a few simple steps. Start with a base coat to protect your nails, then choose rich winter colors like deep blues or festive reds. Once your base color dries, use a makeup sponge to dab on your glitter, blending it upwards for that perfect gradient effect. Don’t forget to seal everything with a top coat for a polished look. Aim for smooth transitions by layering gradually. If you want more tips on finding the perfect colors and maintaining your nails, keep exploring further.
Essential Tools and Materials
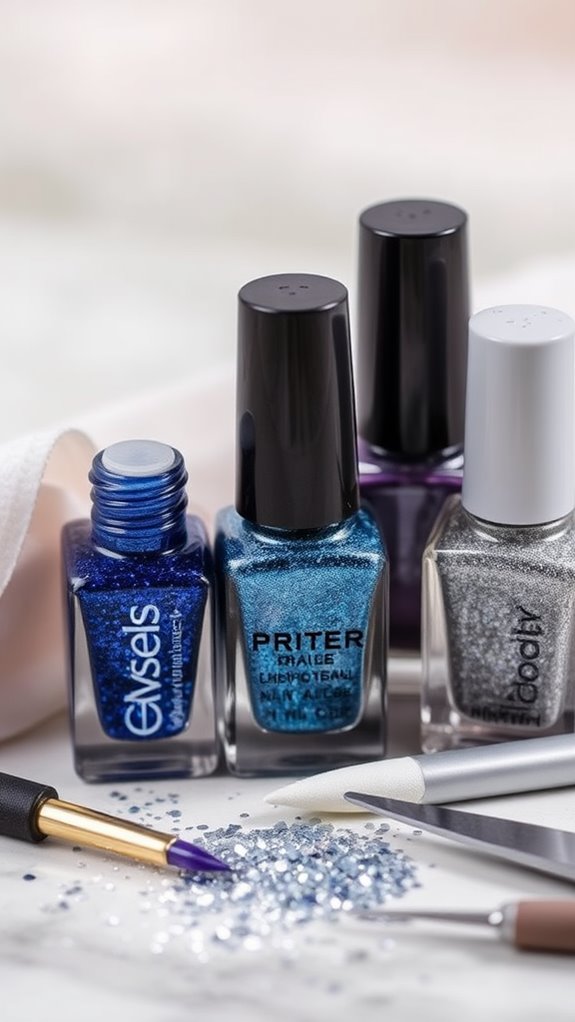
To create stunning glitter gradient ombré nails, you’ll need a few essential tools and materials at your fingertips. Start with a base coat, your chosen nail polishes, and a glitter polish. You’ll also need a makeup sponge for blending, a top coat for sealing, and nail tape for clean edges. Don’t forget a small brush to clean up any excess glitter!
Choosing the Right Color Palette

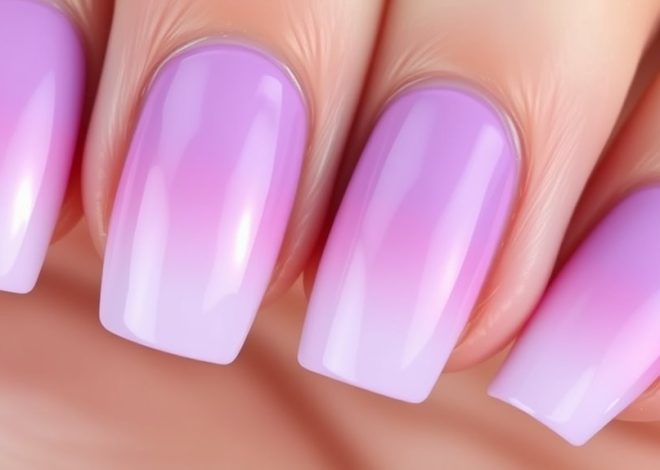
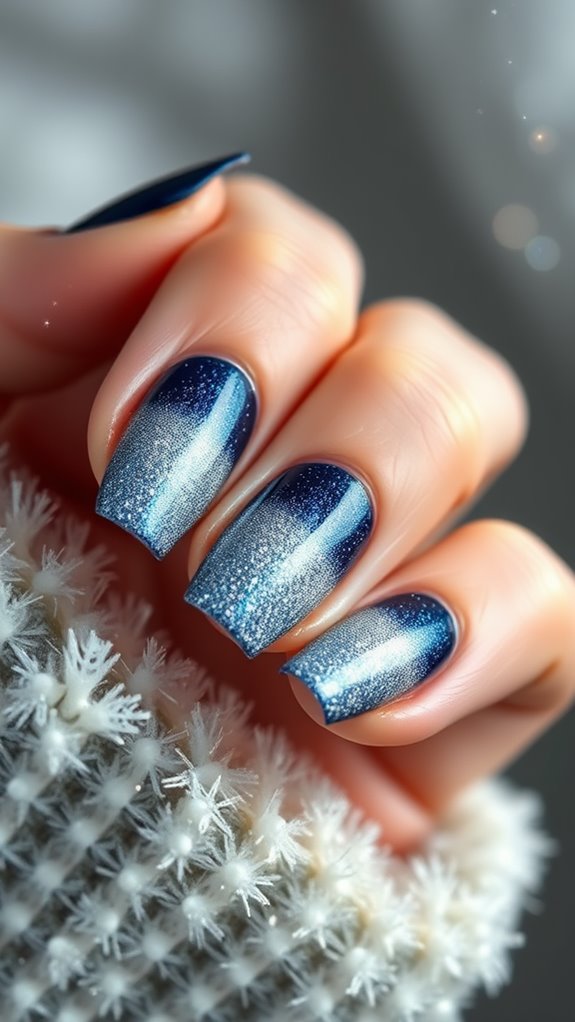
Selecting the right color palette is crucial for achieving the perfect glitter gradient ombré nails. Consider your skin tone and the vibe you want to create. For a classic winter look, opt for deep blues, rich purples, or festive reds. You can also mix in metallics or pastels for a fresh twist. Experiment with combinations to find your ideal blend that truly shines!
Preparing Your Nails for Design

With your color palette in hand, it’s time to get your nails ready for the design process. Start by removing any old polish and gently pushing back your cuticles. Next, file your nails to your desired shape and buff the surface for smoothness. Finally, wash your hands to eliminate any dust or oils. Your nails are now primed for a stunning glitter gradient ombré design!
Step-by-Step Application Process
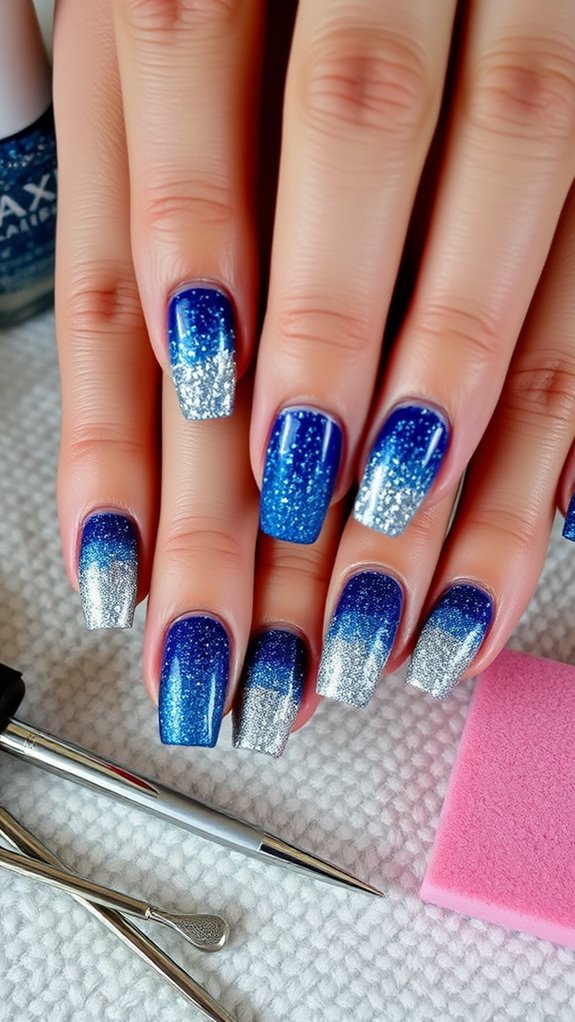
Once you’ve prepped your nails, you can dive into the step-by-step application process for your glitter gradient ombré nails. Start by applying a base coat to protect your nails. Next, paint your chosen base color and let it dry. Then, using a makeup sponge, dab on your glitter, gradually blending it upwards for that stunning gradient effect. Finish with a top coat!
Techniques for a Flawless Gradient
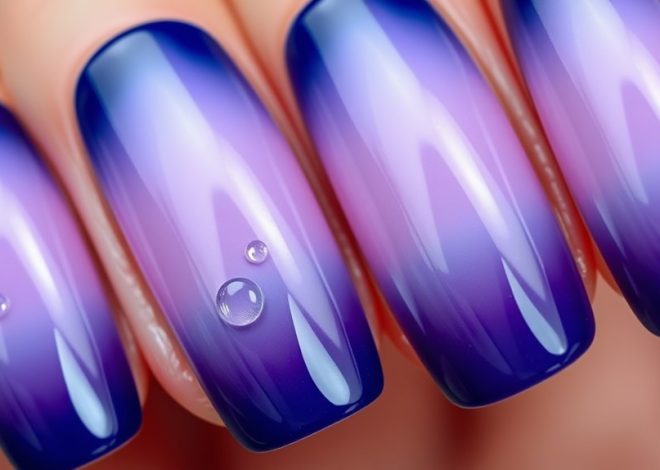
Achieving a flawless gradient requires a bit of finesse, but it’s entirely doable with the right techniques. Start by blending two complementary colors on a makeup sponge, applying them in a stippling motion. Make sure to build up the layers gradually for a smooth transition. Additionally, always ensure your base coat is dry before starting to prevent smudging and to achieve that perfect ombré effect.
Adding Glitter for Extra Sparkle

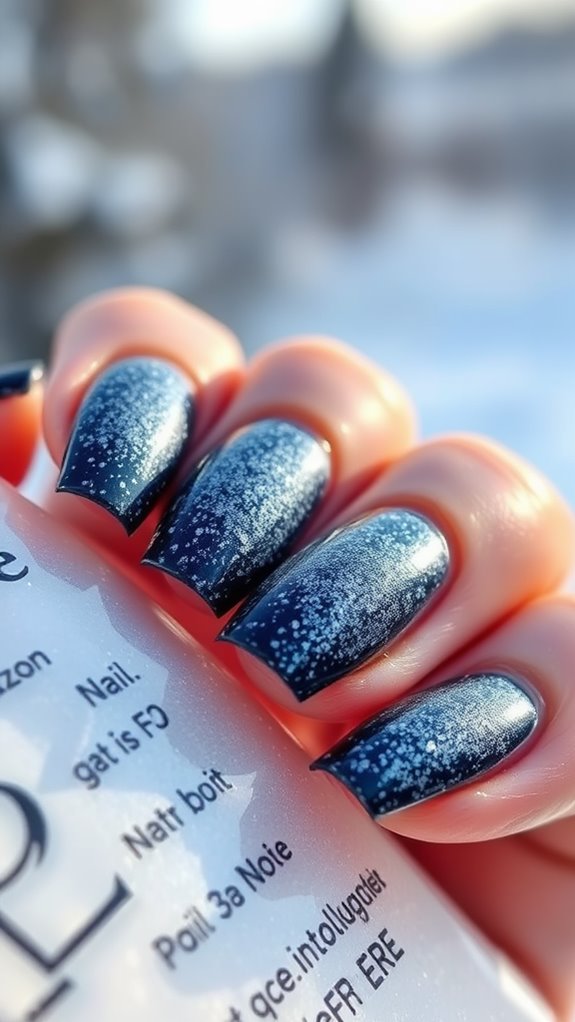
How can you elevate your glitter gradient ombré nails to the next level? Adding glitter is the perfect way! You can sprinkle fine glitter at the tips for a dazzling effect, or use a glitter polish for a more blended look. Don’t forget to vary the sizes of glitter particles for depth and dimension. This will truly make your nails shine bright this winter!
Top Coats for Longevity
To keep your glitter gradient ombré nails looking fabulous for longer, choosing the right top coat is key. Look for a high-quality, quick-drying formula that offers a glossy finish and strong durability. Gel top coats are an excellent option as they provide extra shine and protection. Don’t forget to apply a generous layer and seal the tips for maximum longevity!
Nail Care and Maintenance Tips

Keeping your nails healthy is essential for maintaining that stunning glitter gradient ombré look. Moisturize your cuticles regularly to prevent dryness and breakage. Avoid using your nails as tools, and wear gloves when doing chores. Don’t forget to file your nails weekly to keep them in shape. Lastly, take breaks from polish to let your nails breathe and recover their strength.